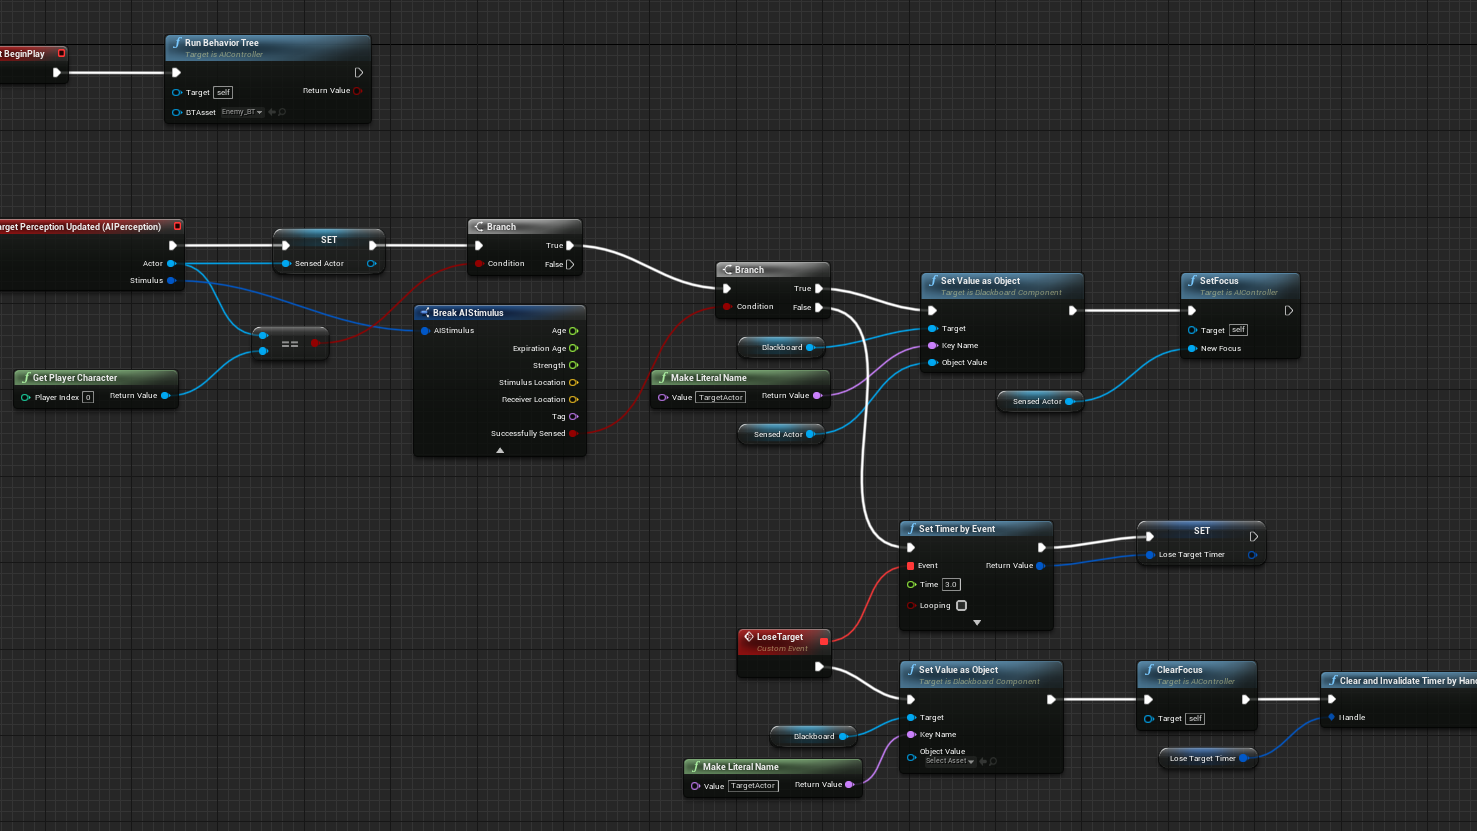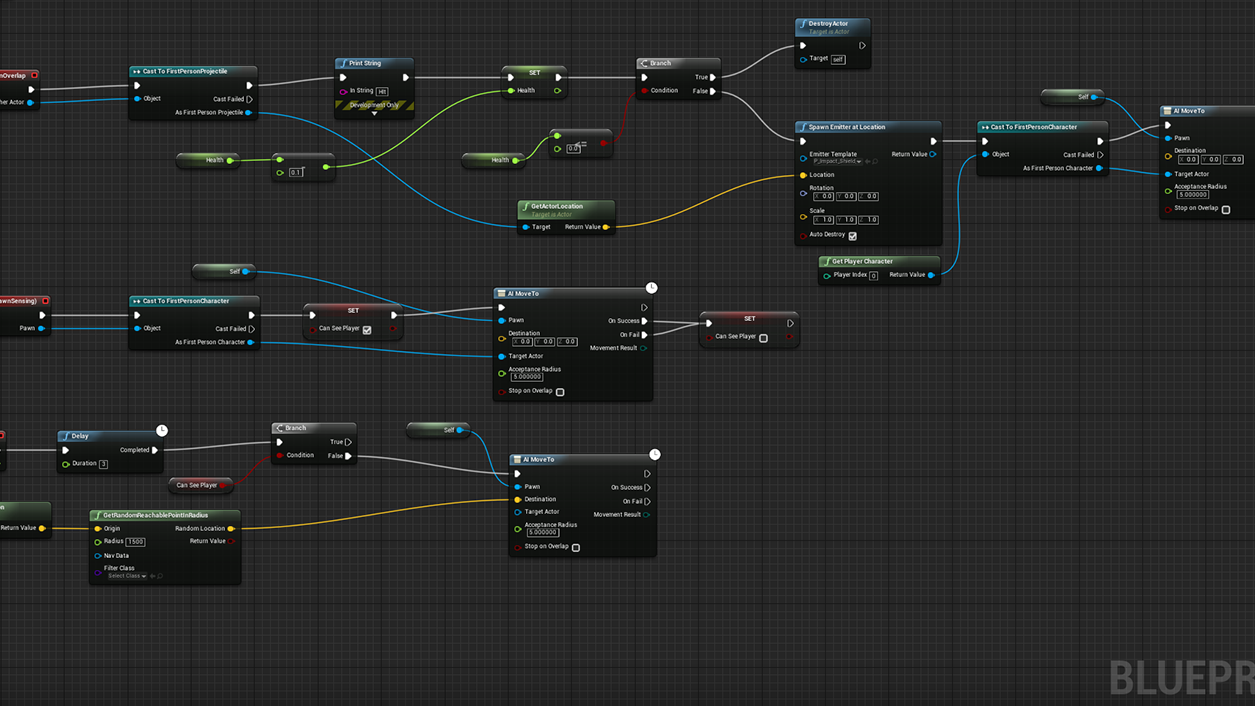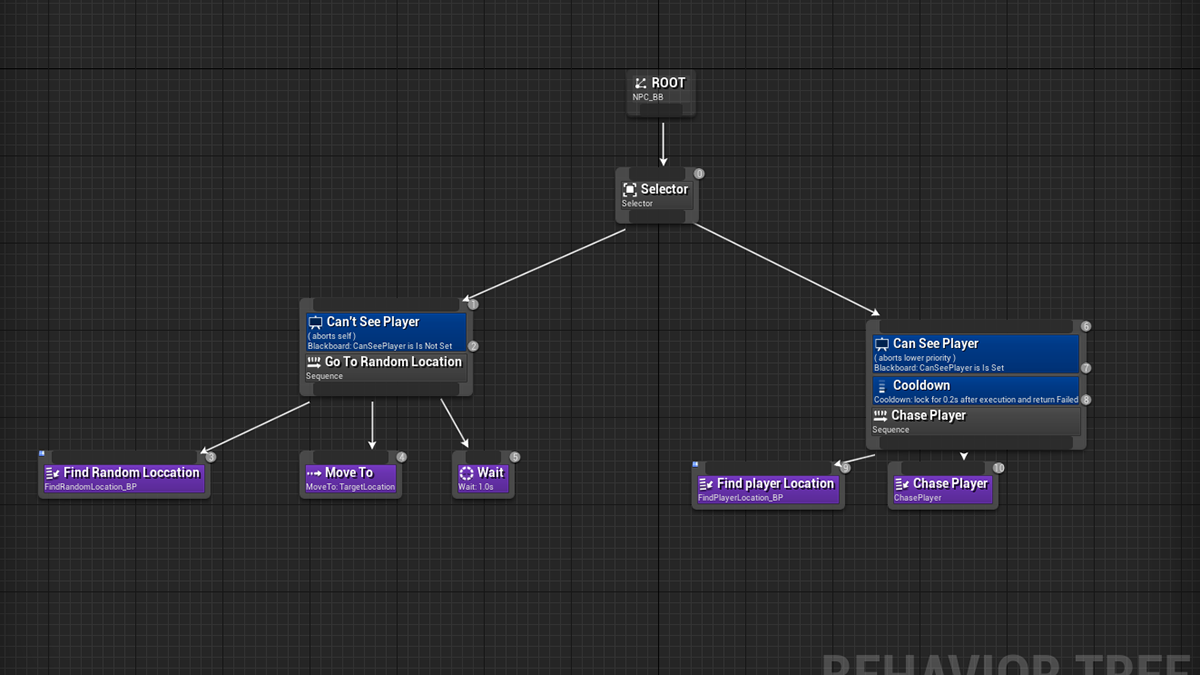

As a Design Lead, I'm involved in a lot of the design aspects for Shadows of Dawn. My experience with C++ and Unreal Engine Blueprints allows me to quickly prototype new features and seamlessly communicate and work with our development team. I frequently collaborate on in game systems with our Senior Systems designer. Level design, lighting and managing our team's asset pipeline are also key parts of my role with Next Player Games.
Level Design
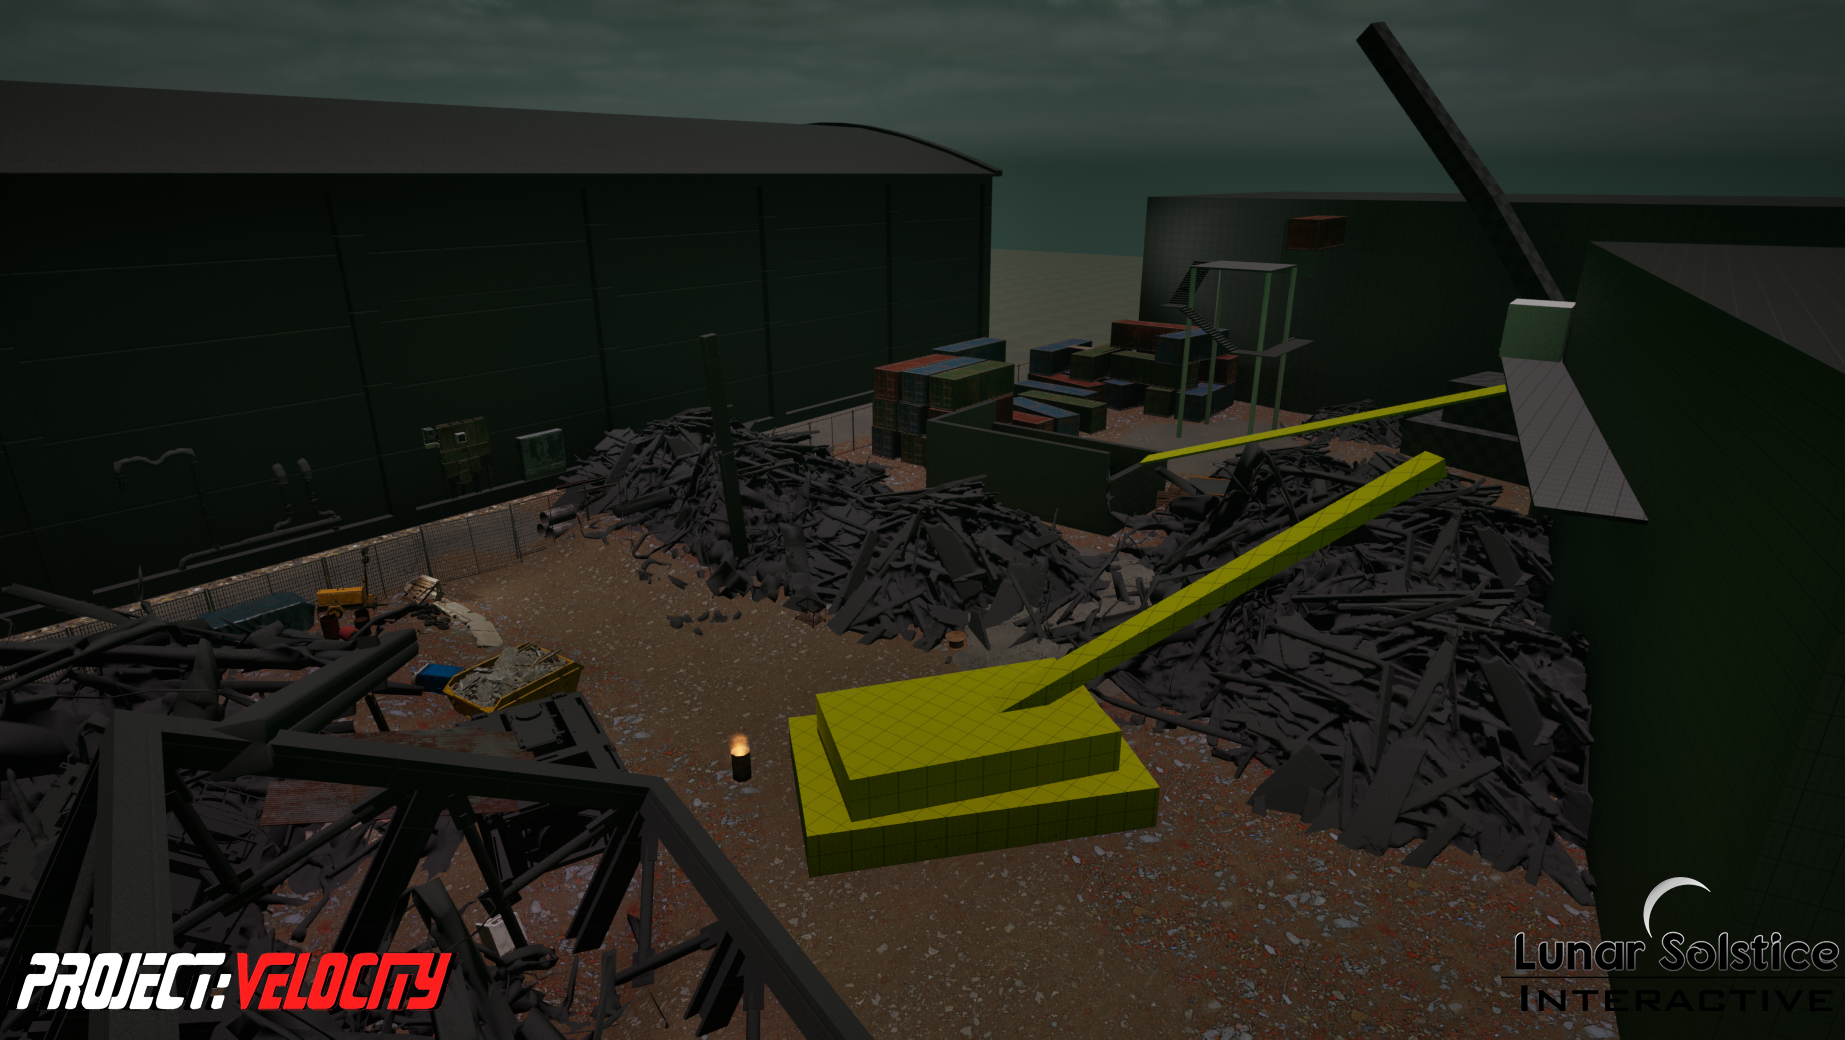
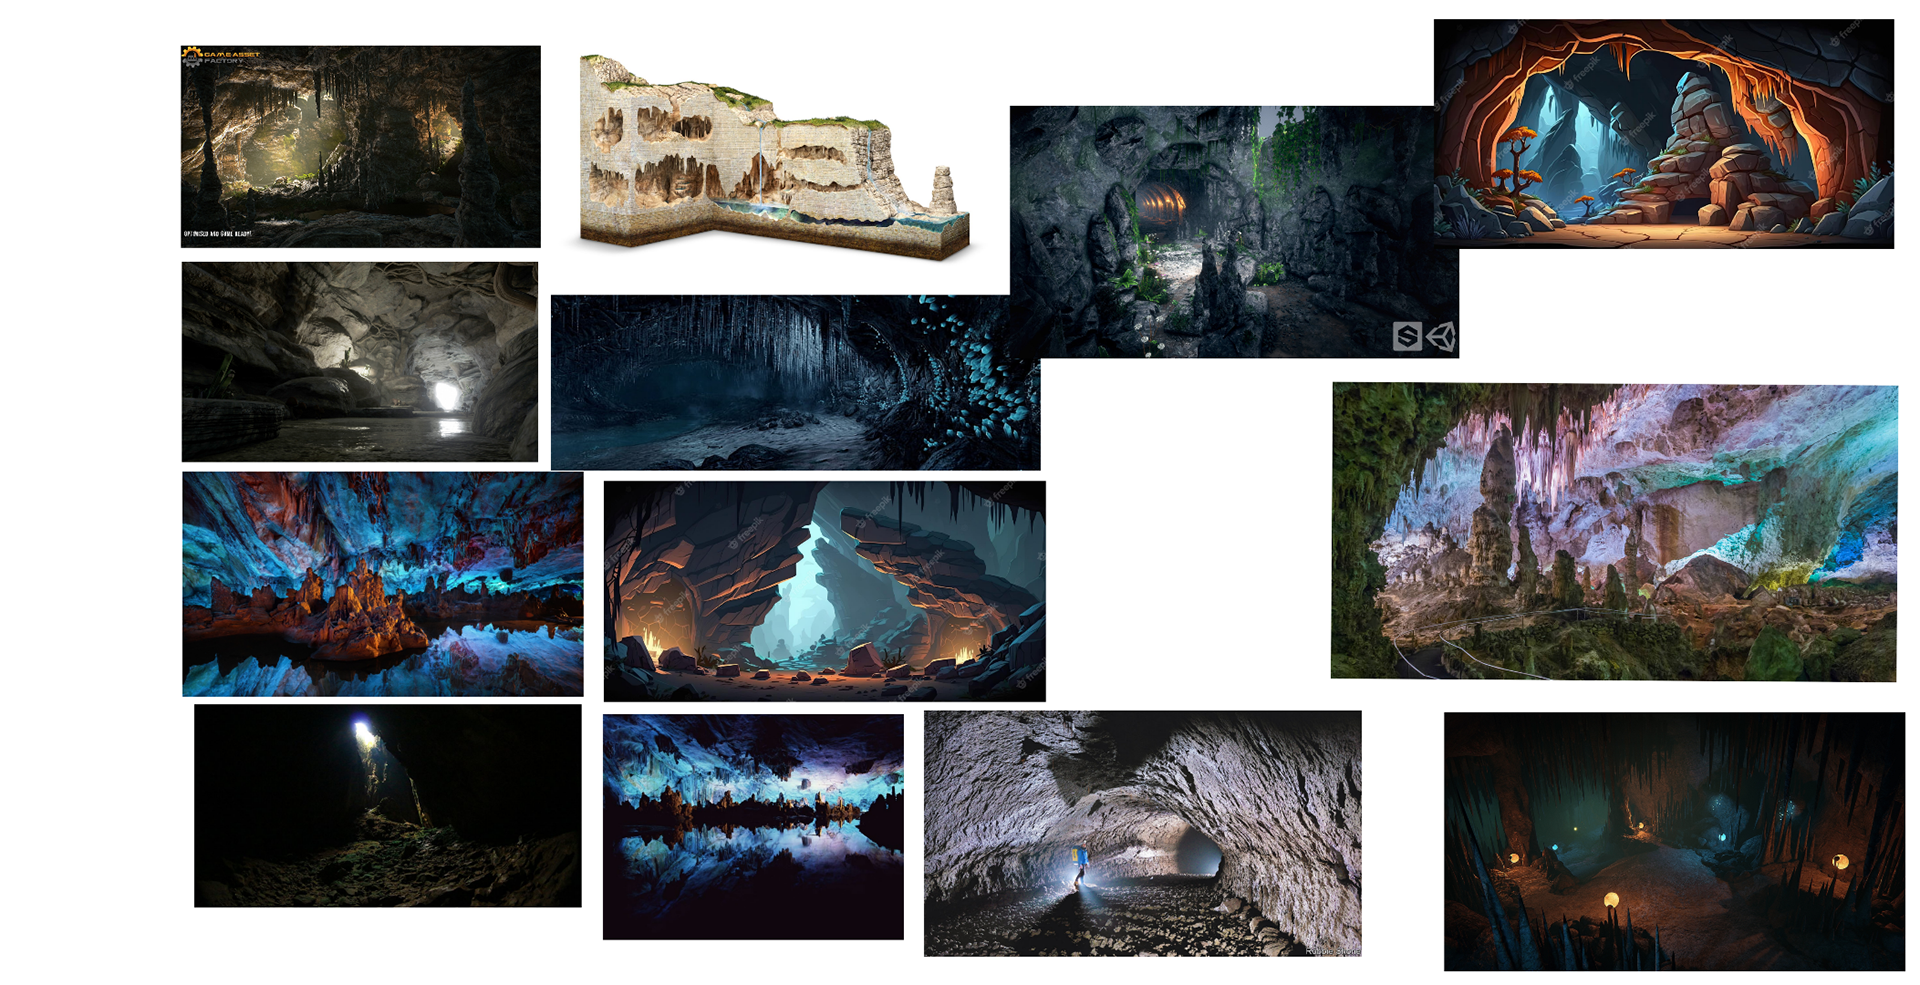
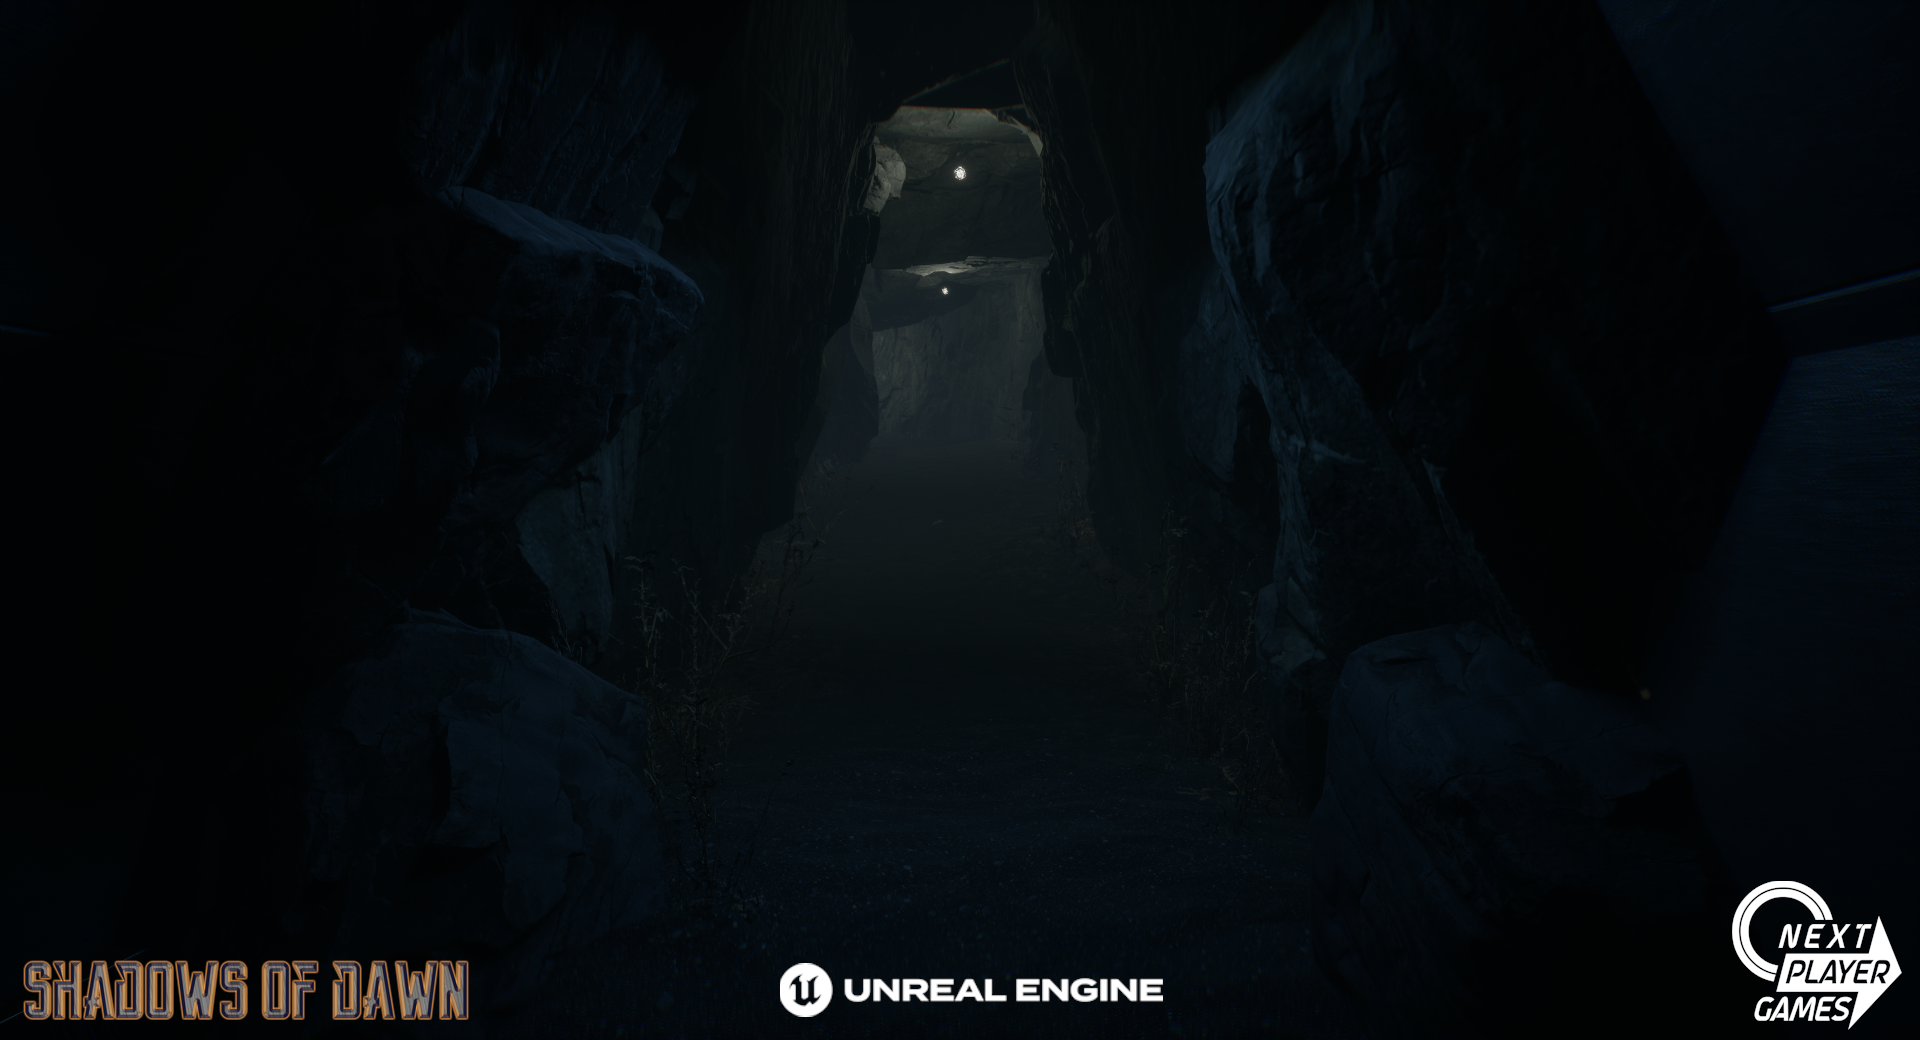
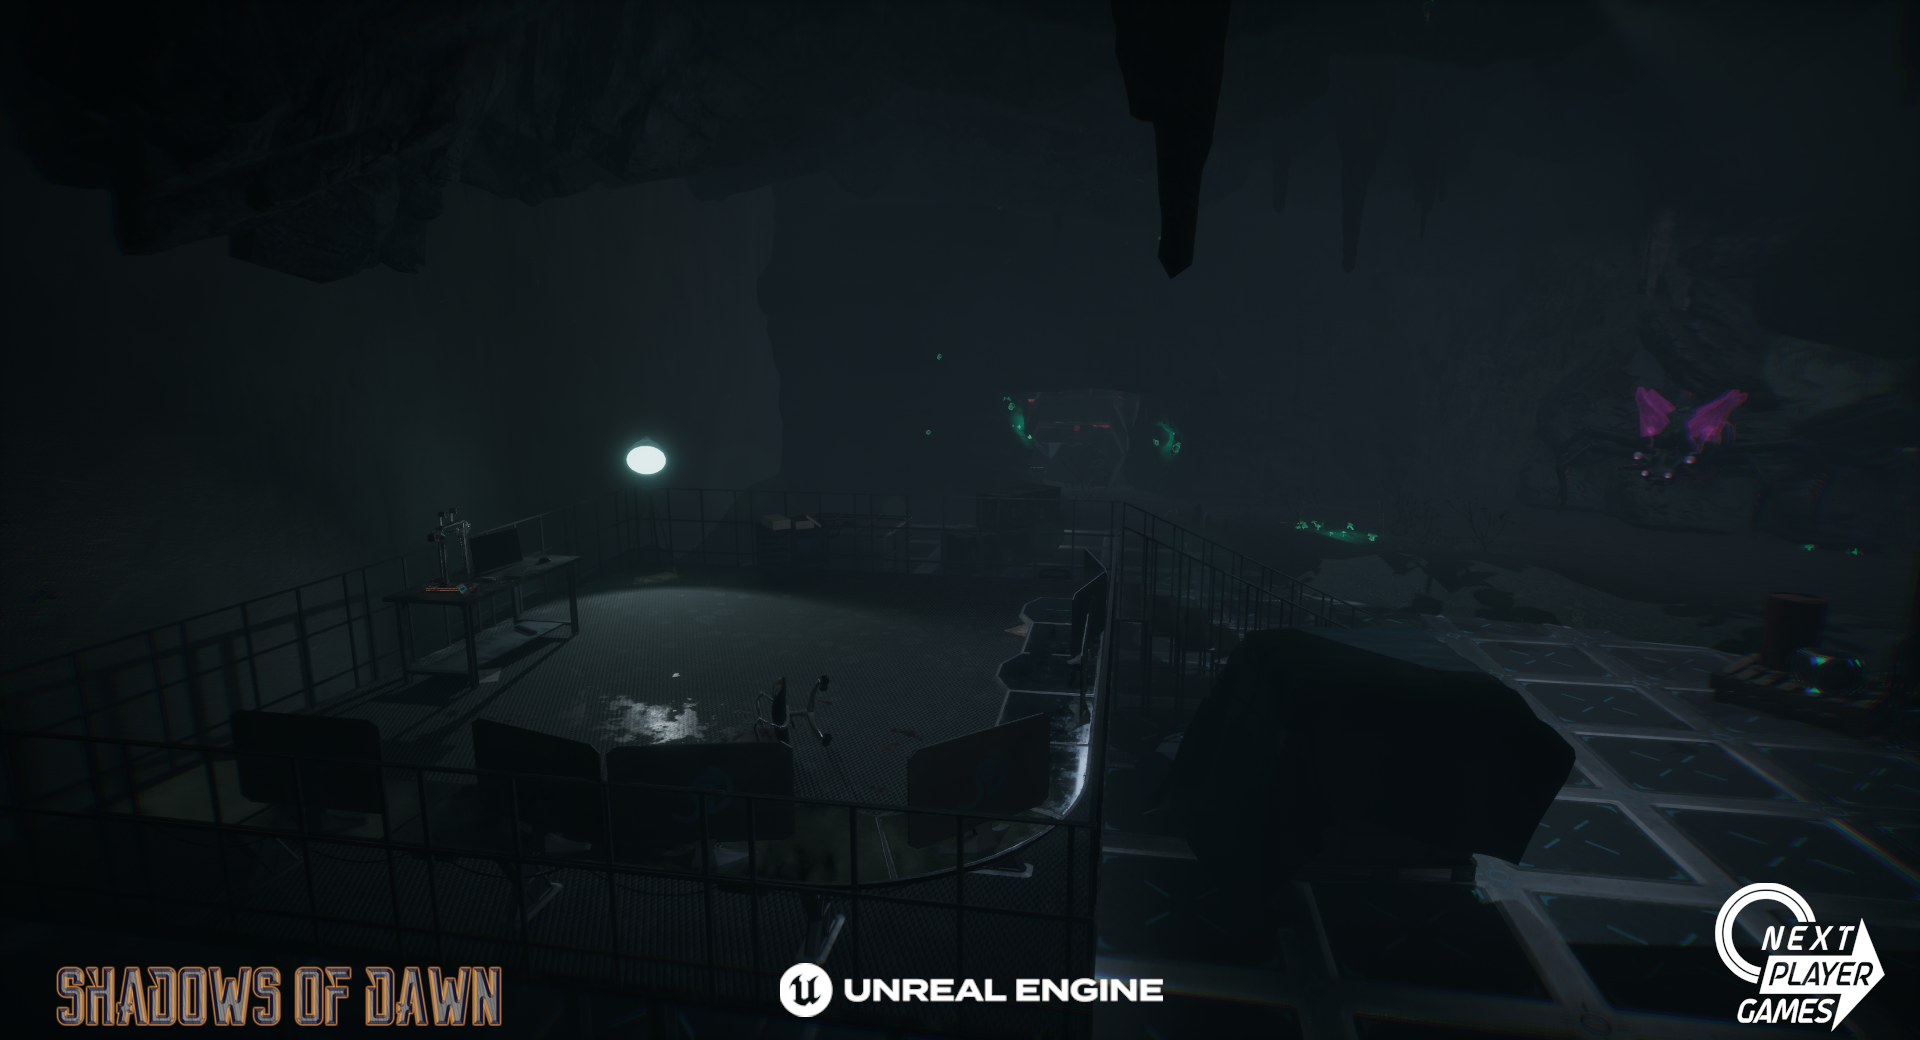
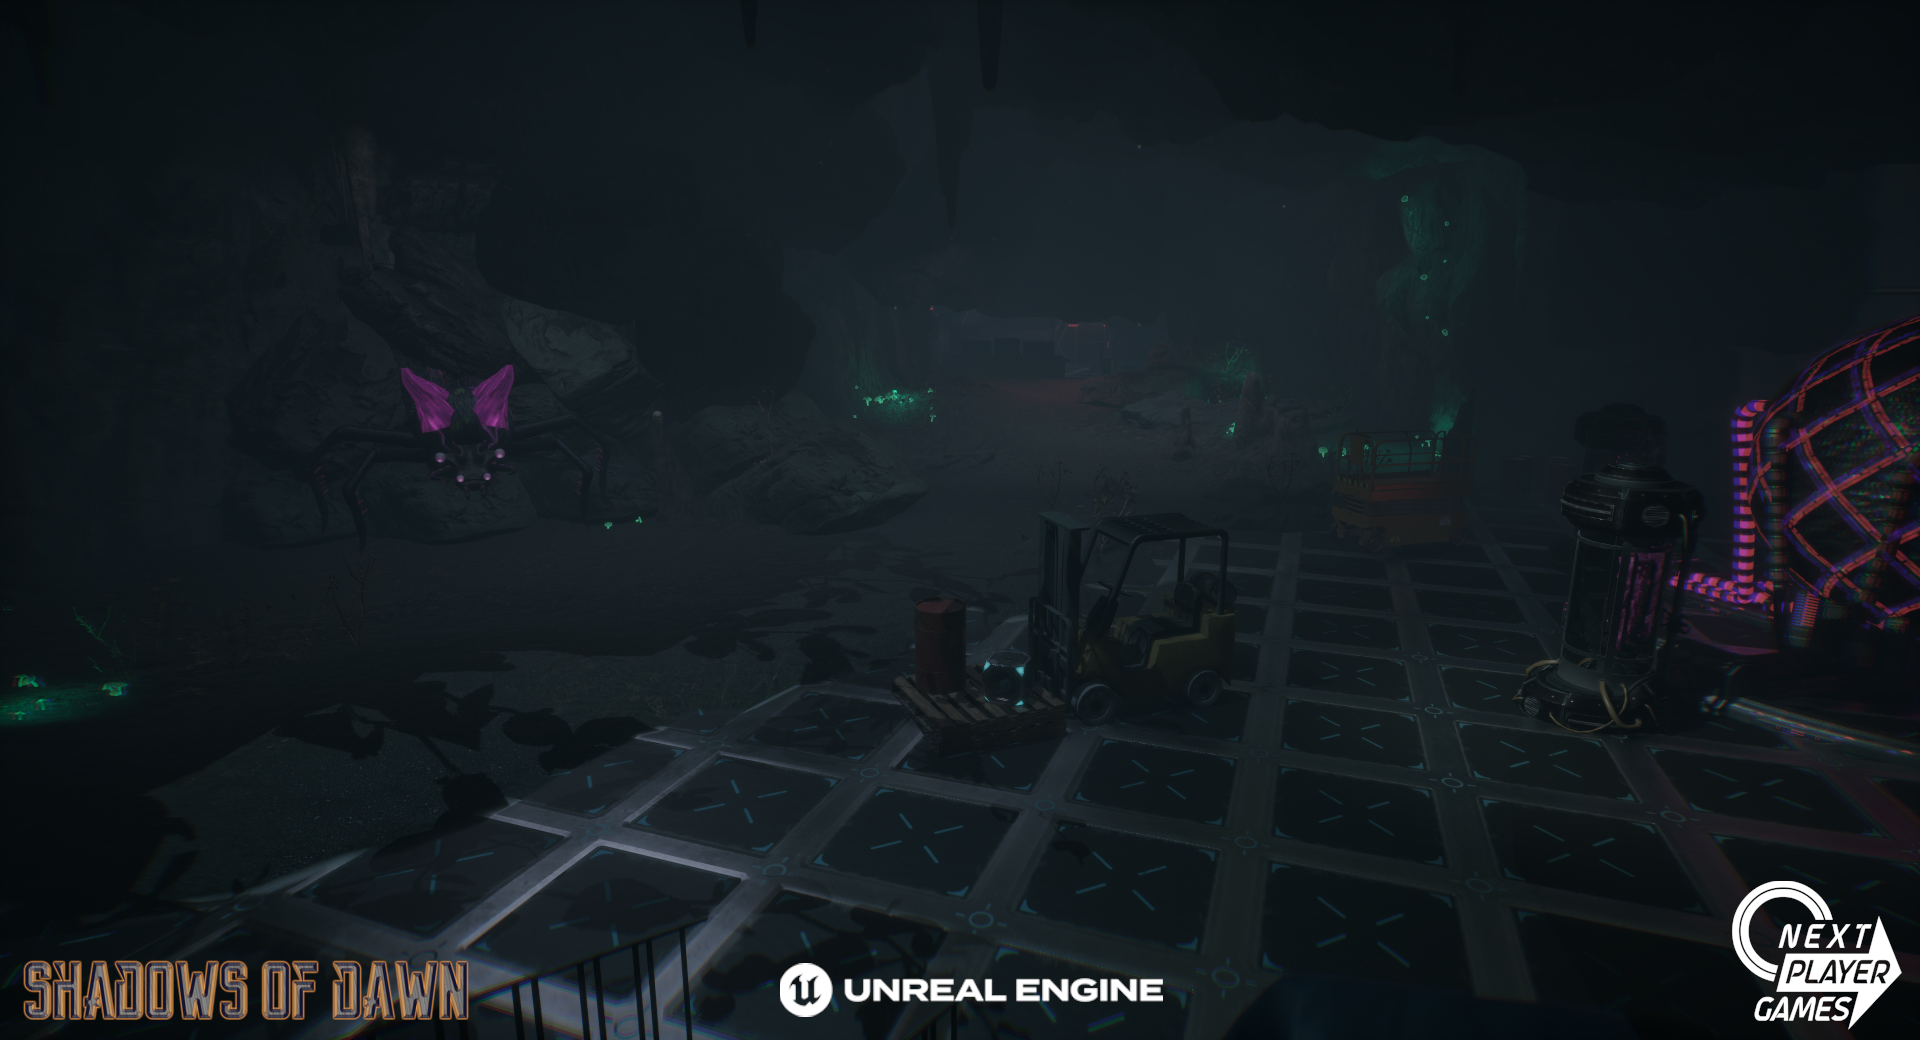
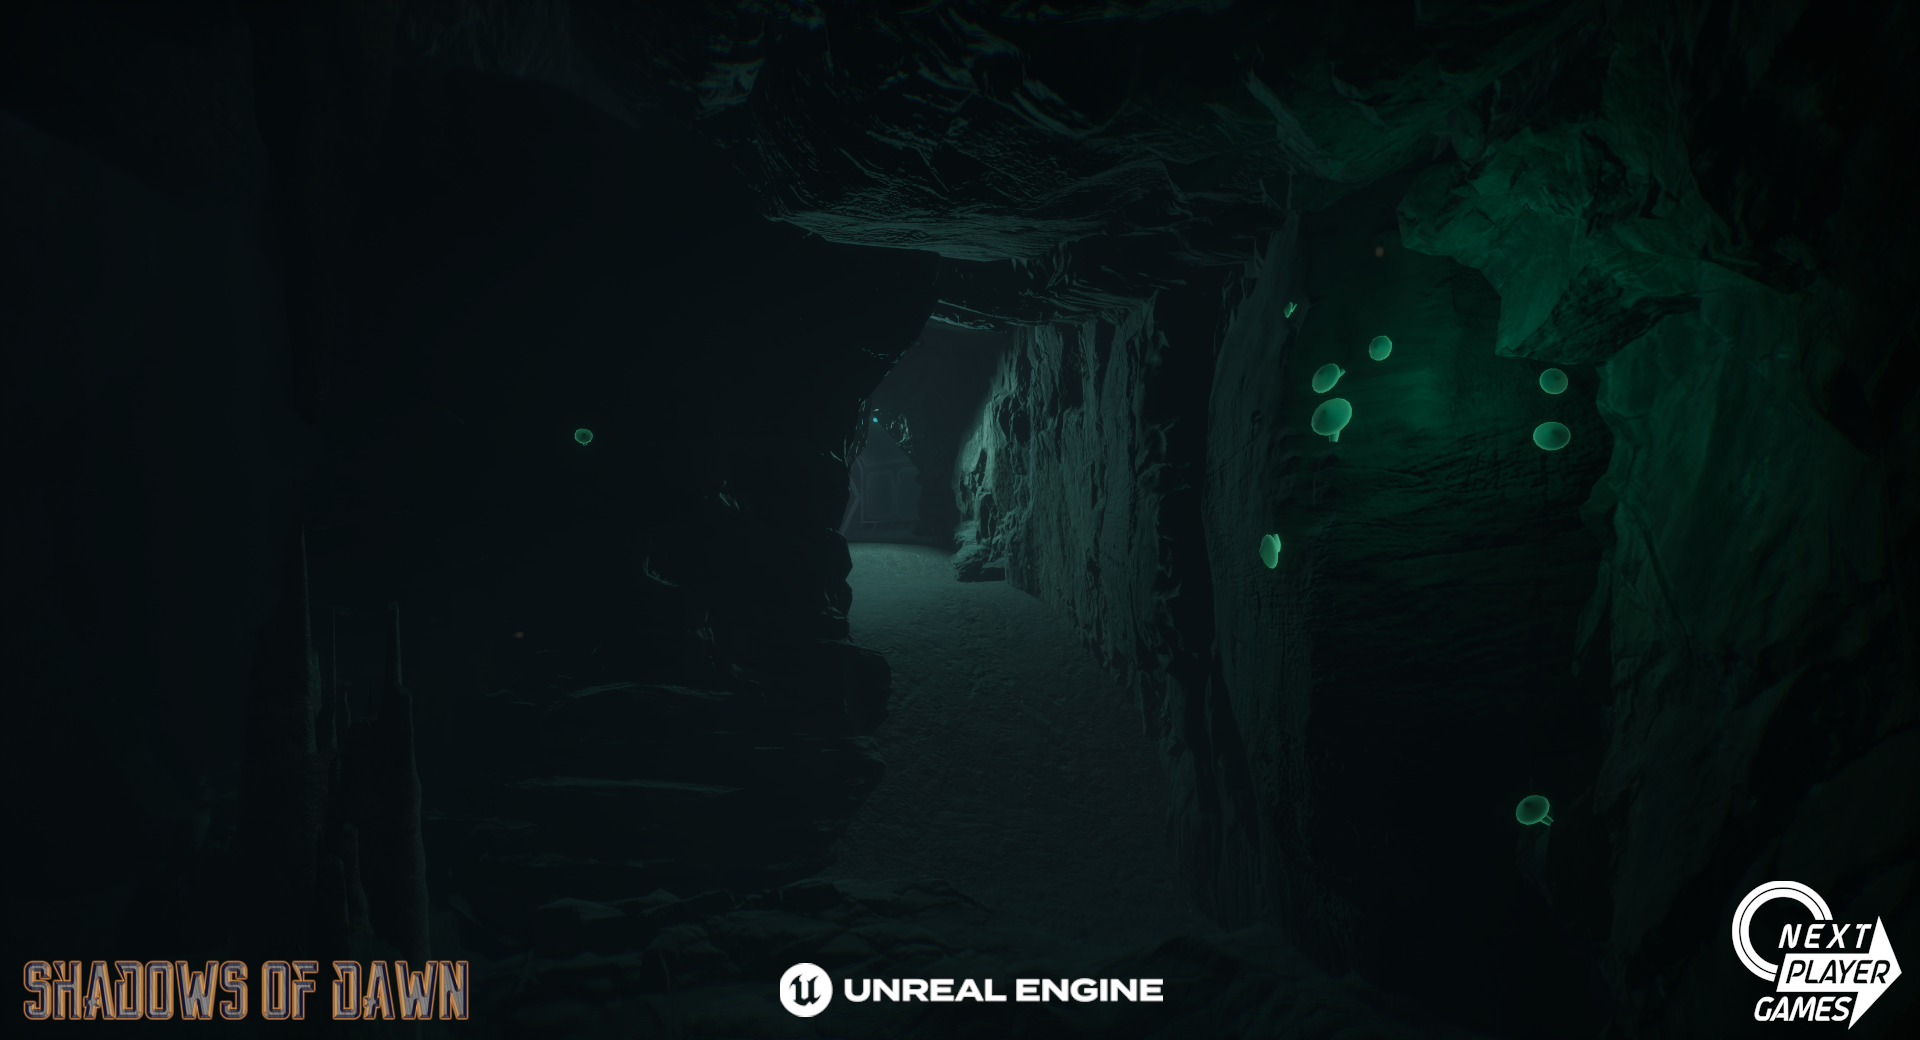
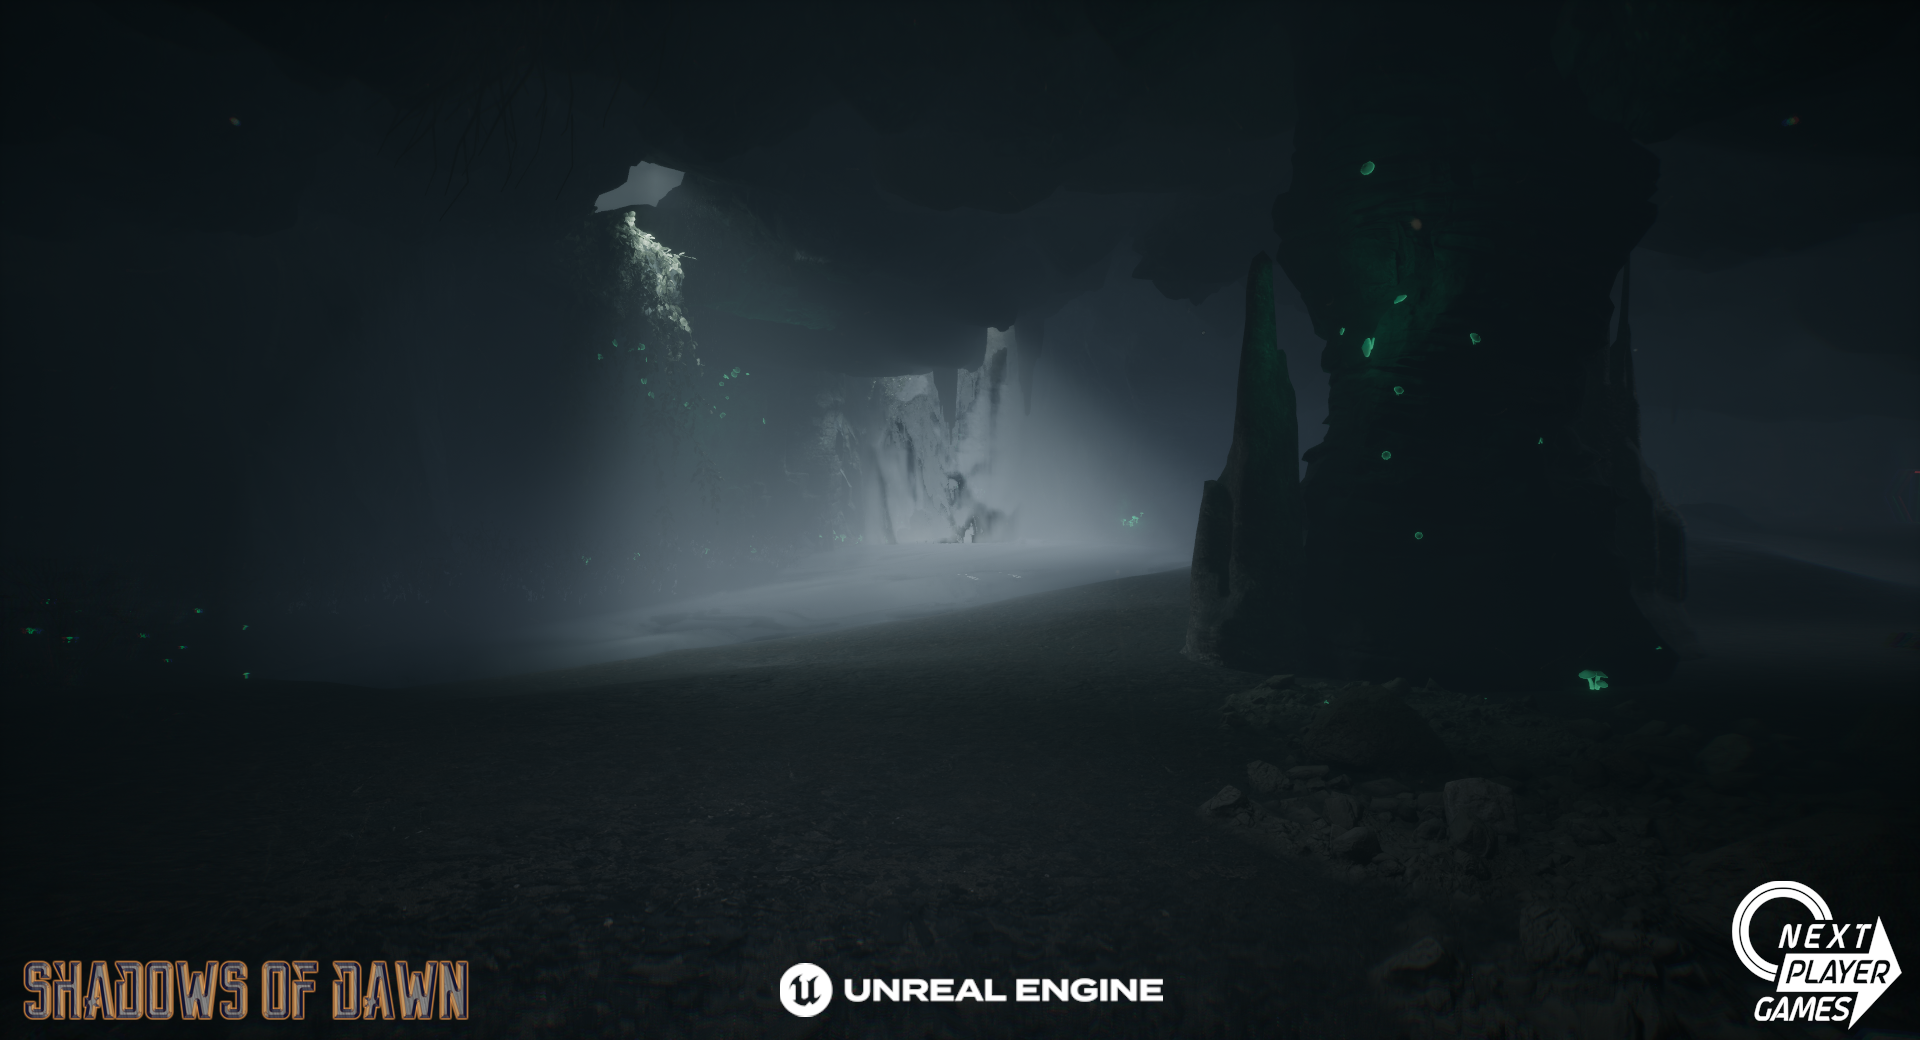
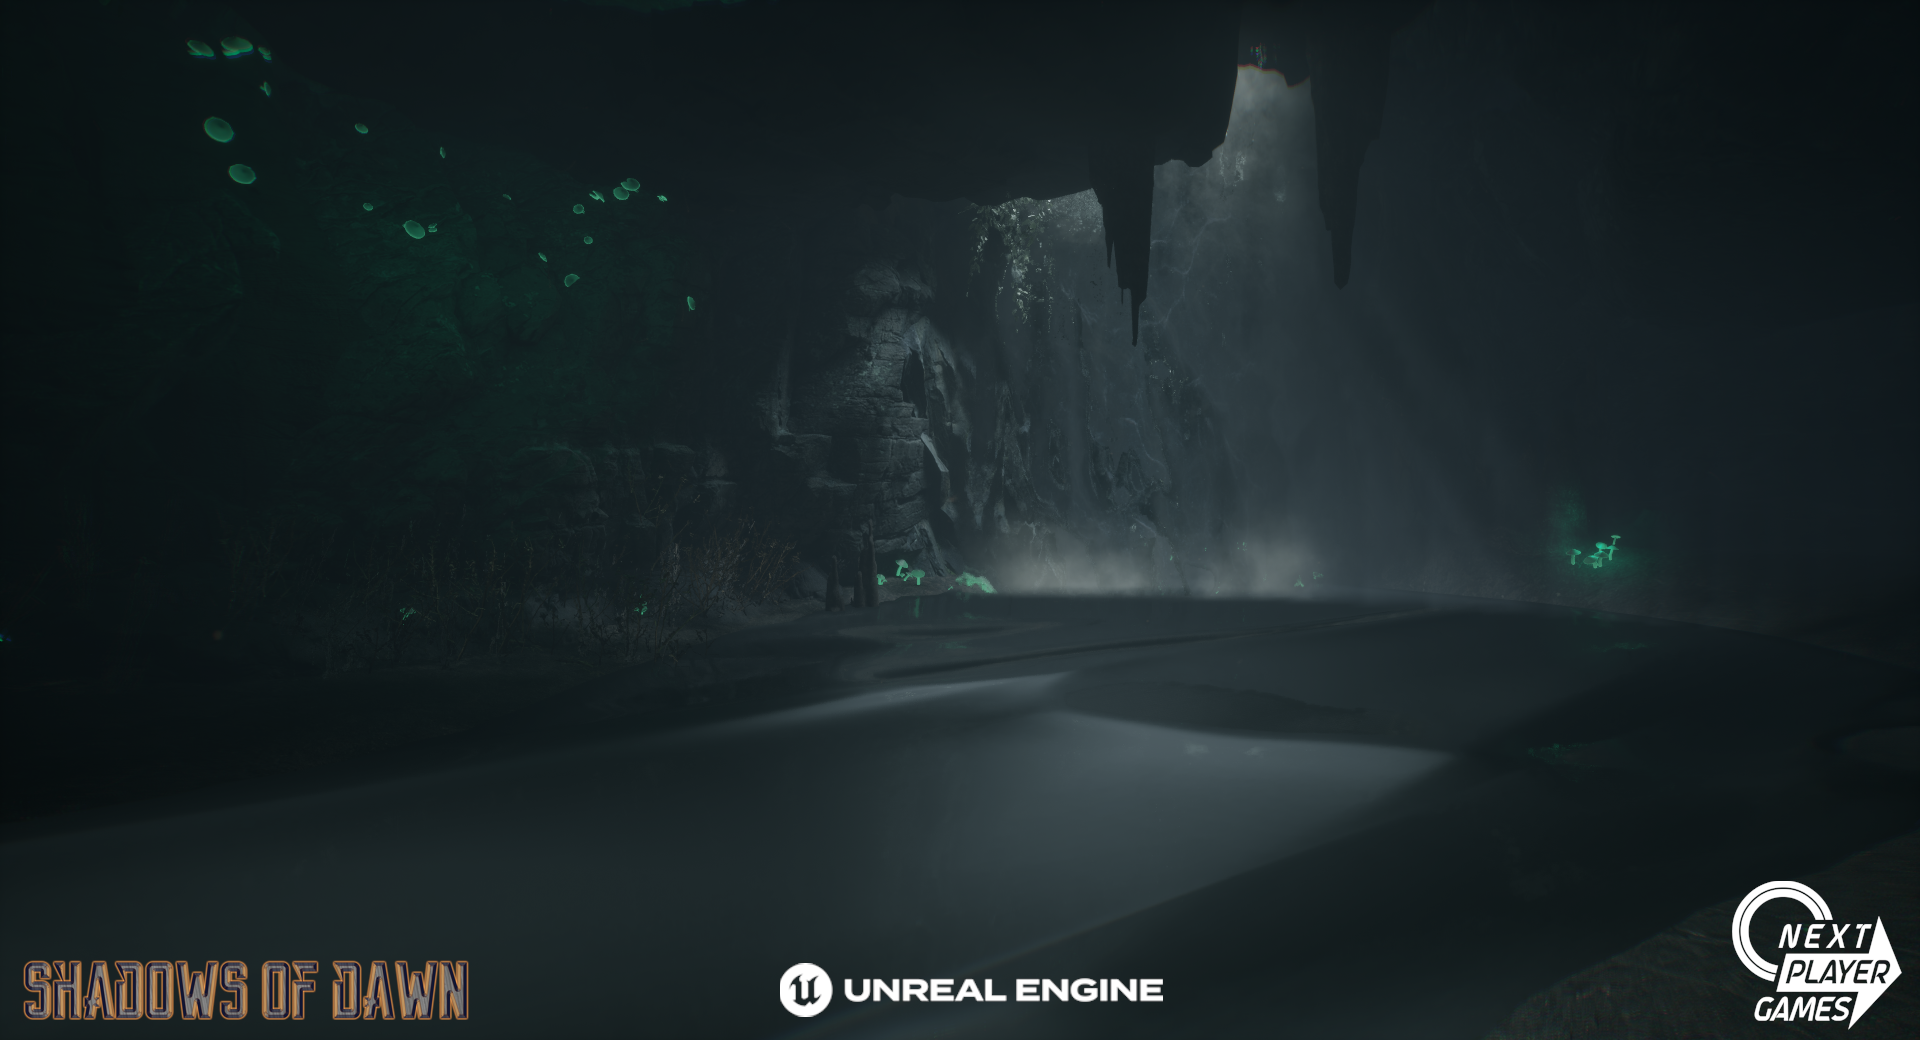
When we began concepting ideas for the tutorial level of our Alpha we had a few small environments that our artists had made for some promotional material while we were still in early prototyping and development. We determined that the most sensible way to proceed with building our open-world would be to use one of these environments as a jumping off point and repurpose it for our new direction. Our Art Lead and I got together to review the three environments that we had; a cave setting, a wooded encampment for one of our in-game factions, and a crumbled overpass. We came to the conclusion that based on our current storyline it made most sense to repurpose the cave setting into a hybrid cave system and sci-fi science bunker. Exploring this setting would give us the opportunity to build up to revealing the state of the world to the player and pace out some of our game's systems rather than overwhelm them all at once.
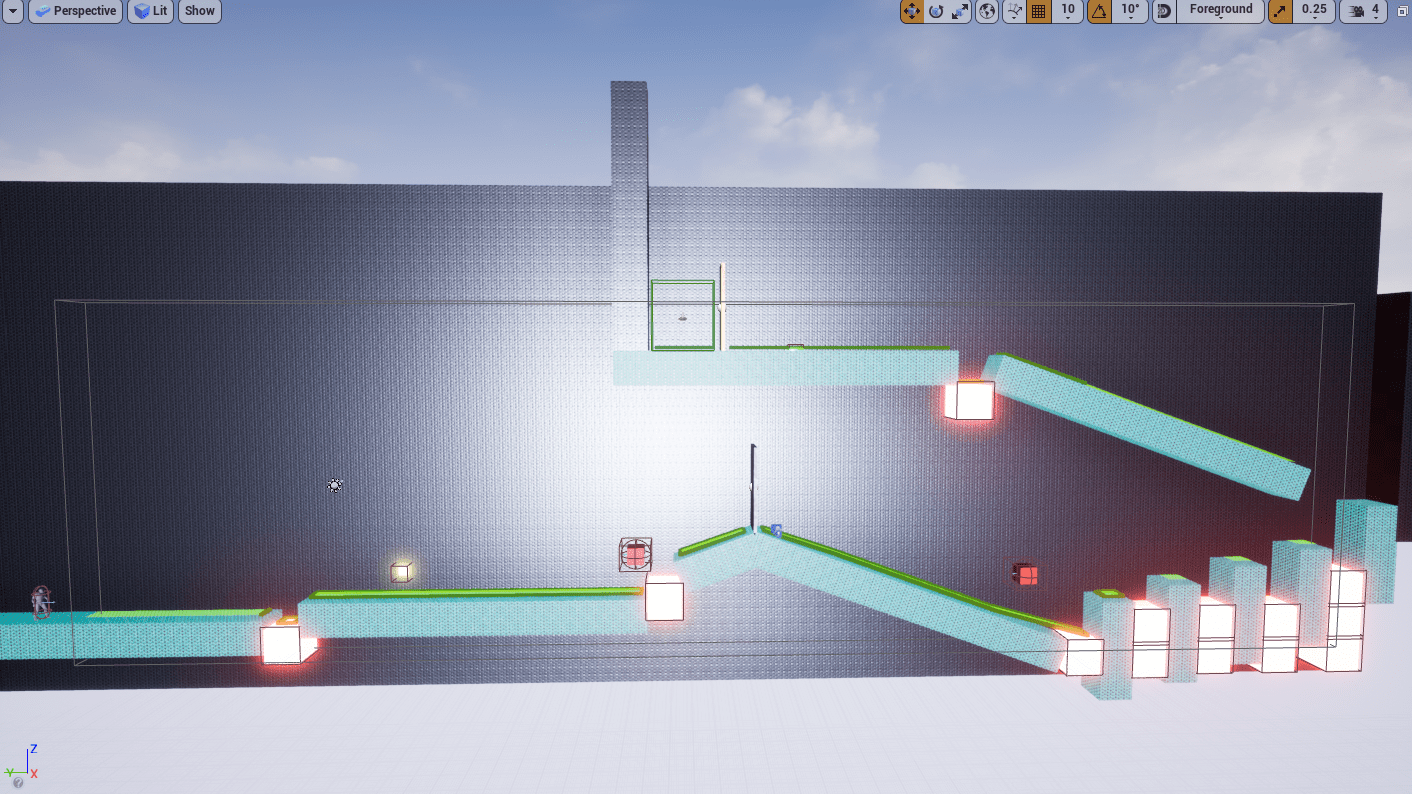
To adapt my process for level design to the task or repurposing what was already built, I took an overhead screenshot of the existing level and drew over it to solidify the layout. This proved to be incredibly helpful in the long run because while it all lines up nicely on paper, the existing environment was much smaller than what we were going to need for player's to explore properly. So this sketched layout helped me keep track of my progress and the direction I needed to be going as I started expanding everything.
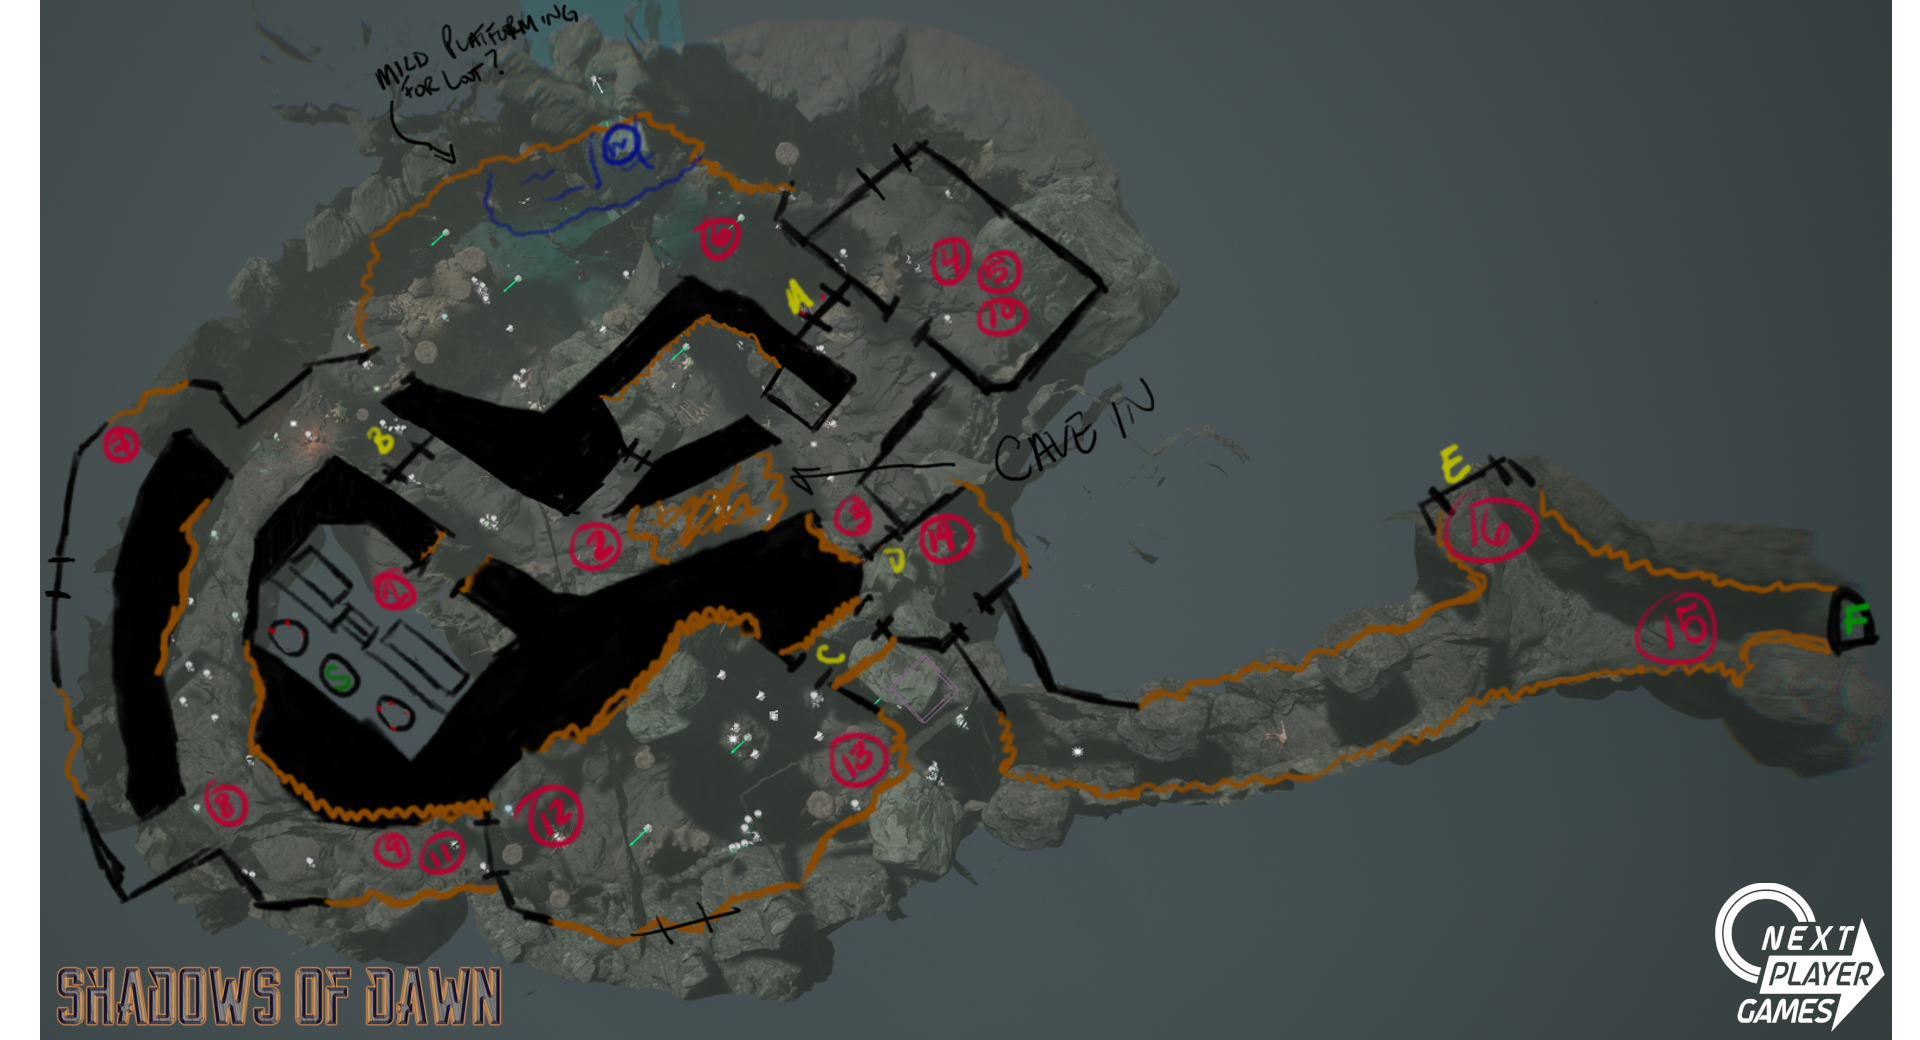
While plotting out the layout of the level, I included notes about the levels progression (indicated by number). This helped plot out the level's pacing, determine some assets that our 3D art team could start focusing, and some mechanics that our development team could start prototyping in the meantime.
Tutorial Level Progression
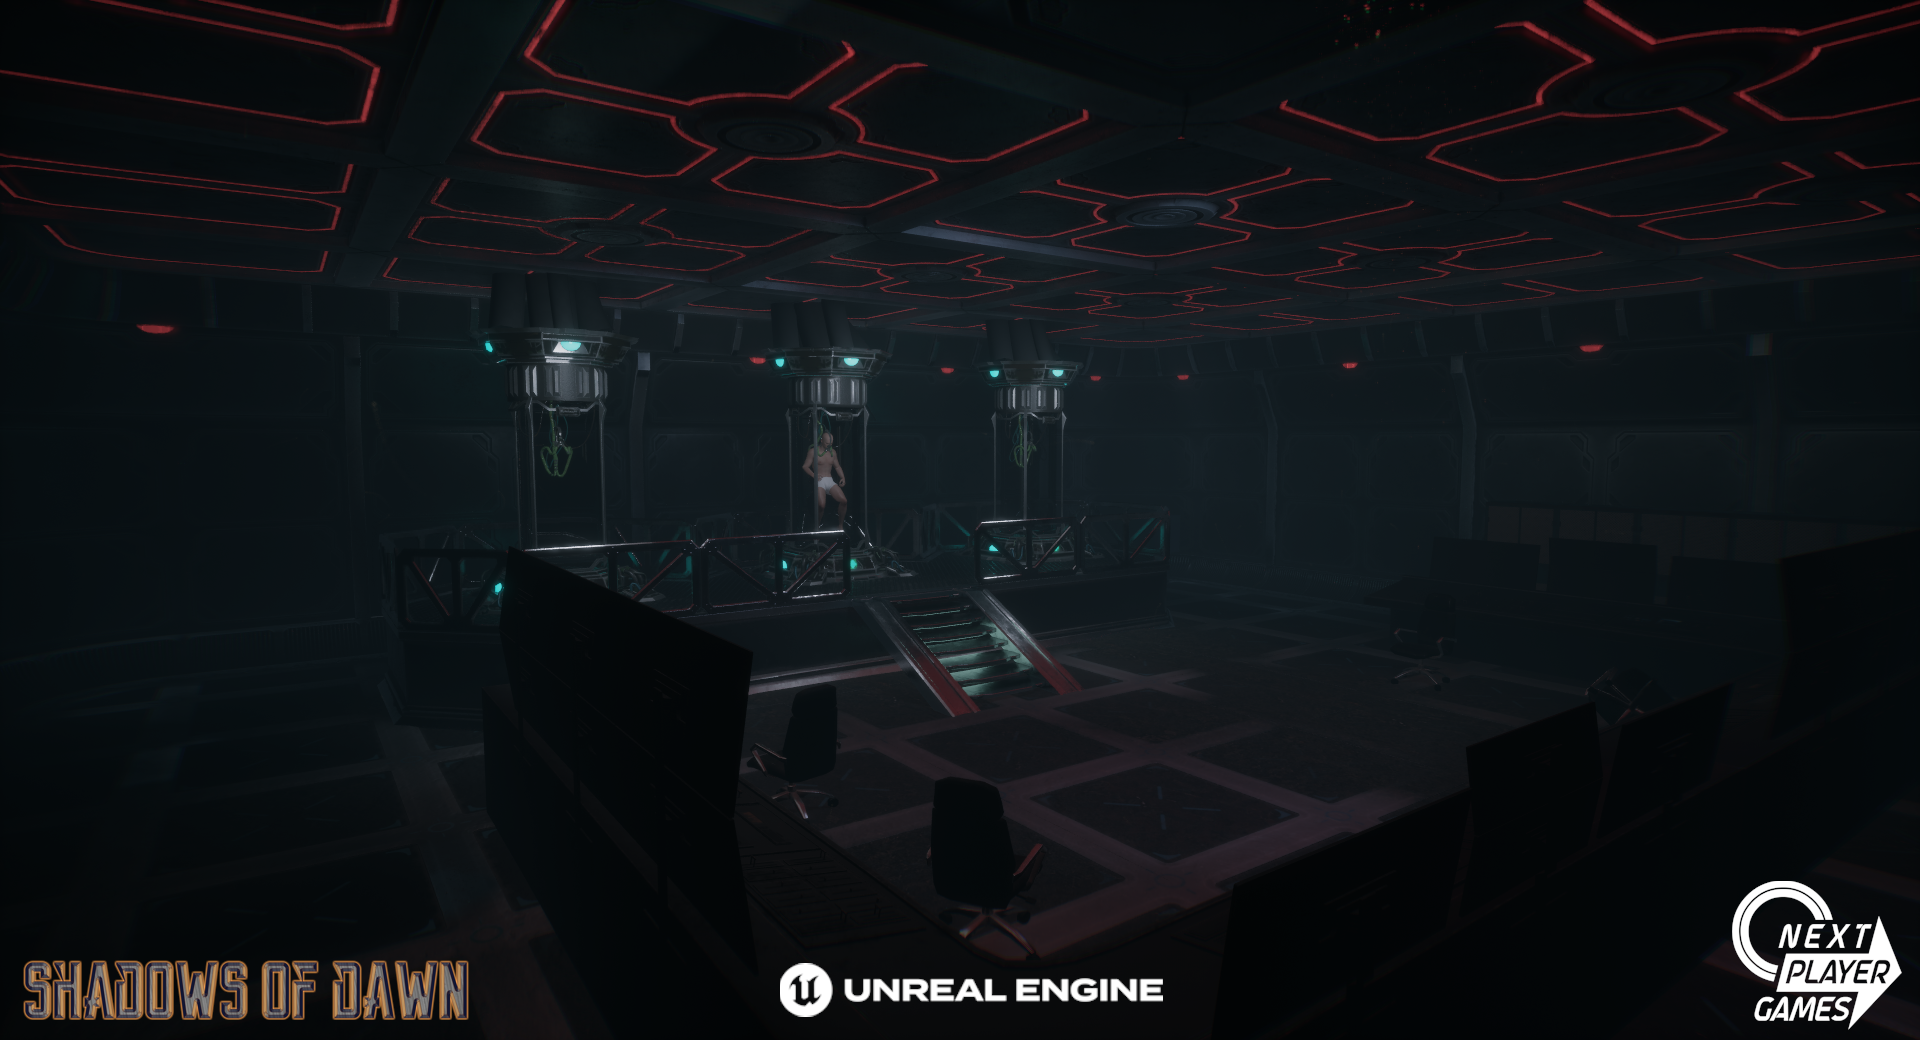
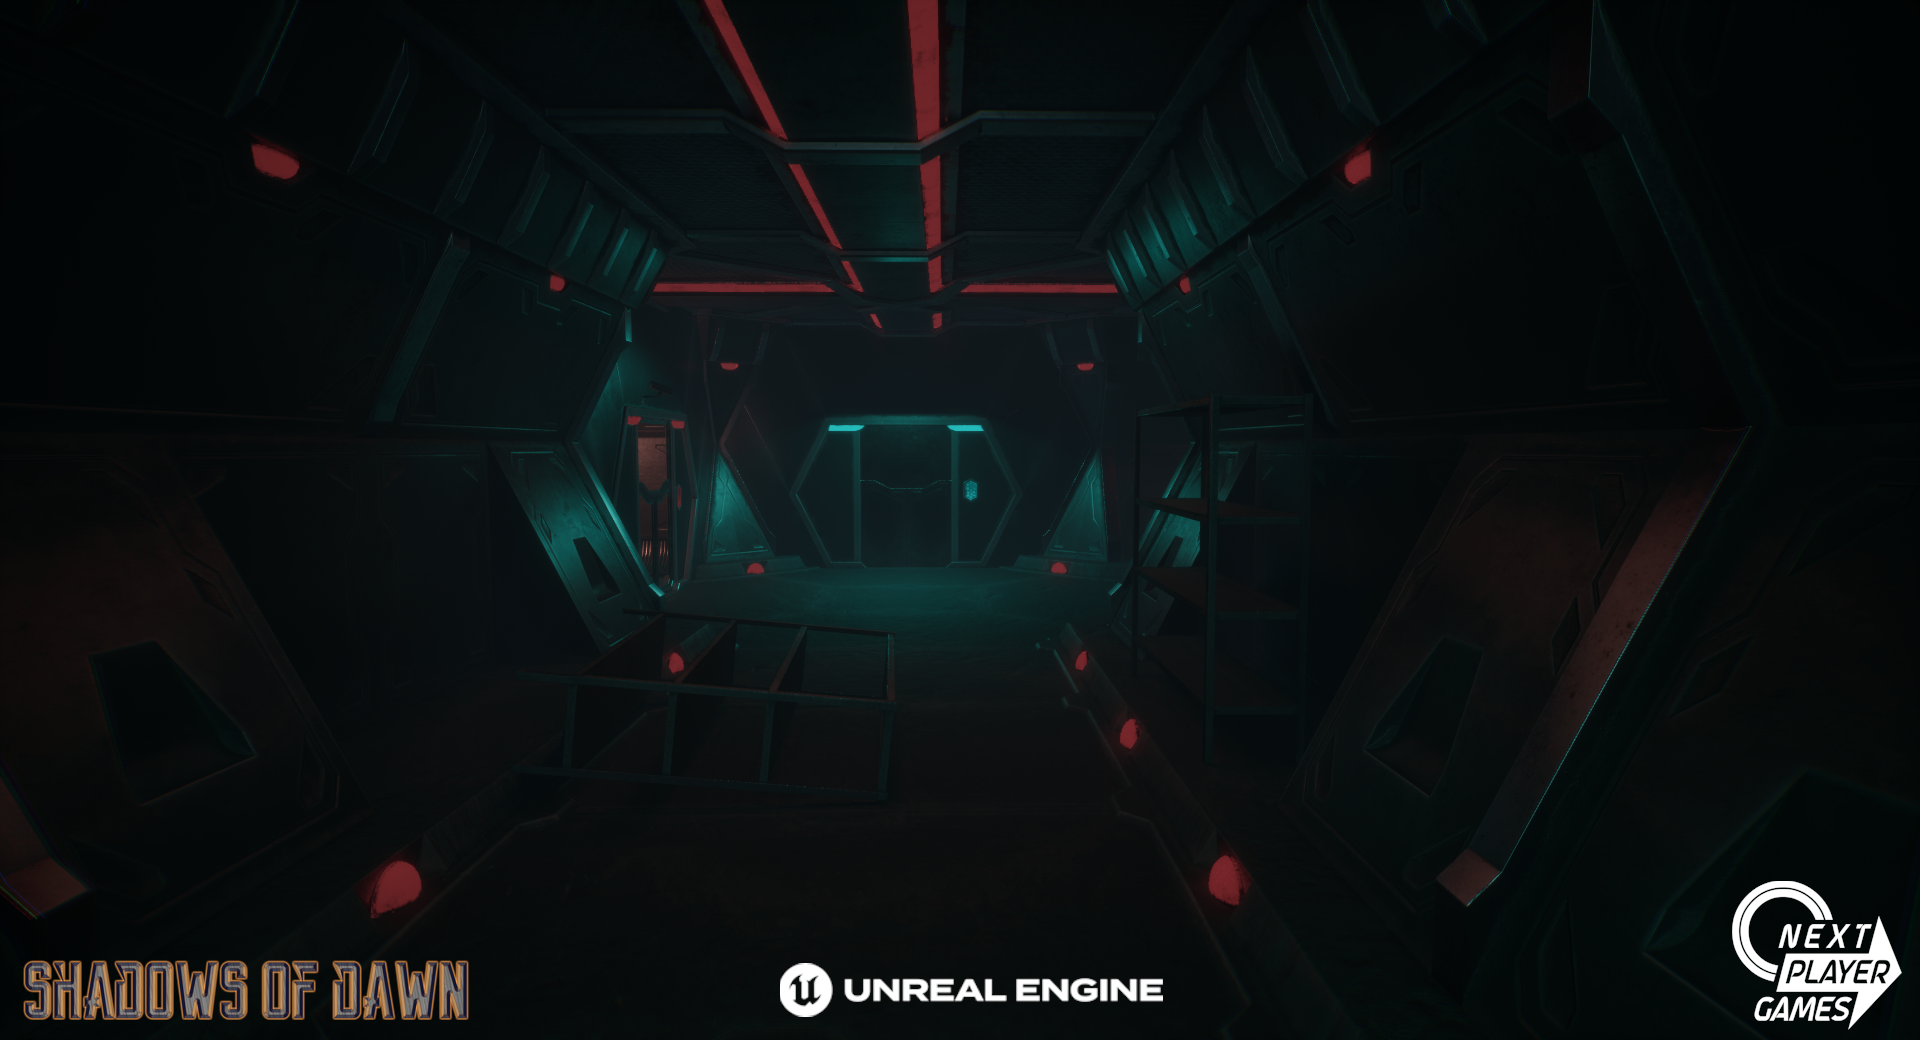
1.) Player awakes in “Bio-printer” to mutant beetle attack damaging tech and infrastructure, is released from chamber; beetle flees. Player may explore and exit room to adjacent hallway. Door to left “B” is in lockdown. Player must proceed to right.
2.) Storage room to left is locked from inside, player is taught to crouch and prone to navigate partial cave in.
3.) Door to “security room?” locked from inside. Storage room door may be opened from inside if player chooses. Door marked “A” is in lockdown similar to “B” Player must continue to workshop.
4.) Crafting tutorial, player prompted to gather parts in workshop and are walked through in crafting shiv.
5.) Use shiv to access electrical panel prompting mini-game/puzzle. Puzzle reward is lockdown removal and opening of doors “A” and “B”
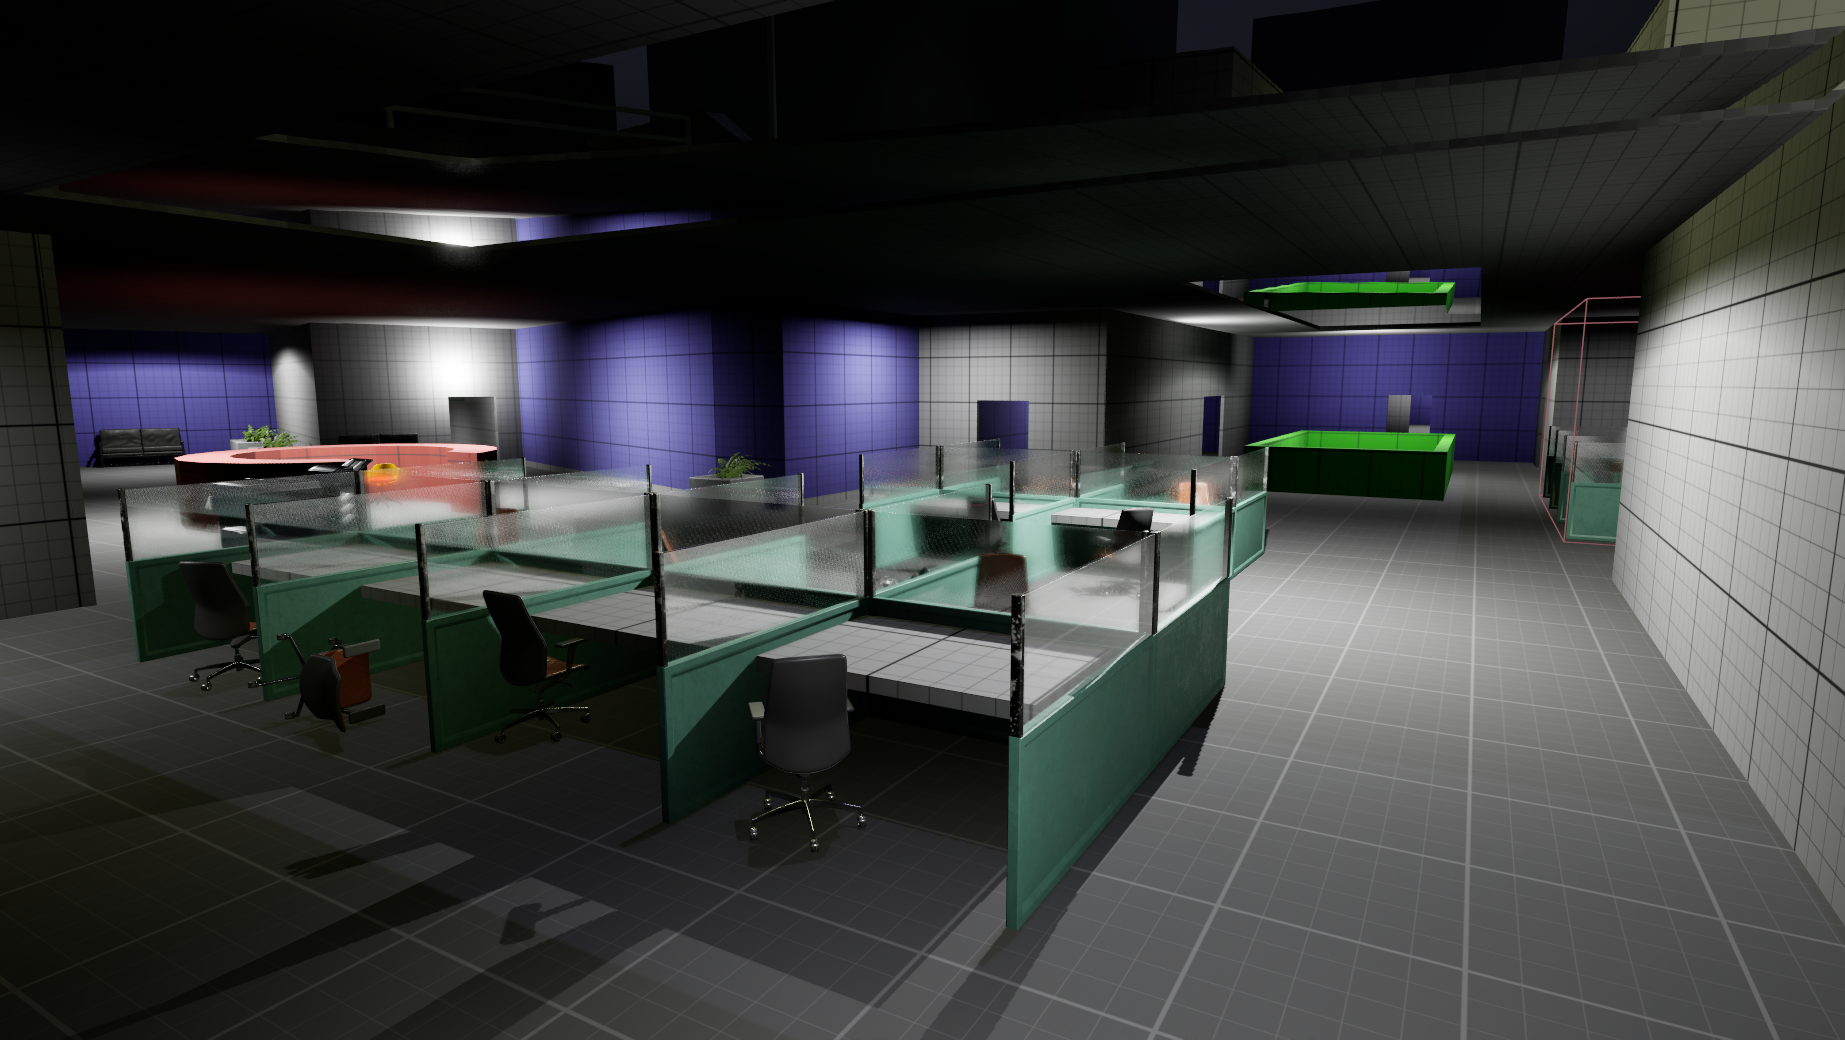
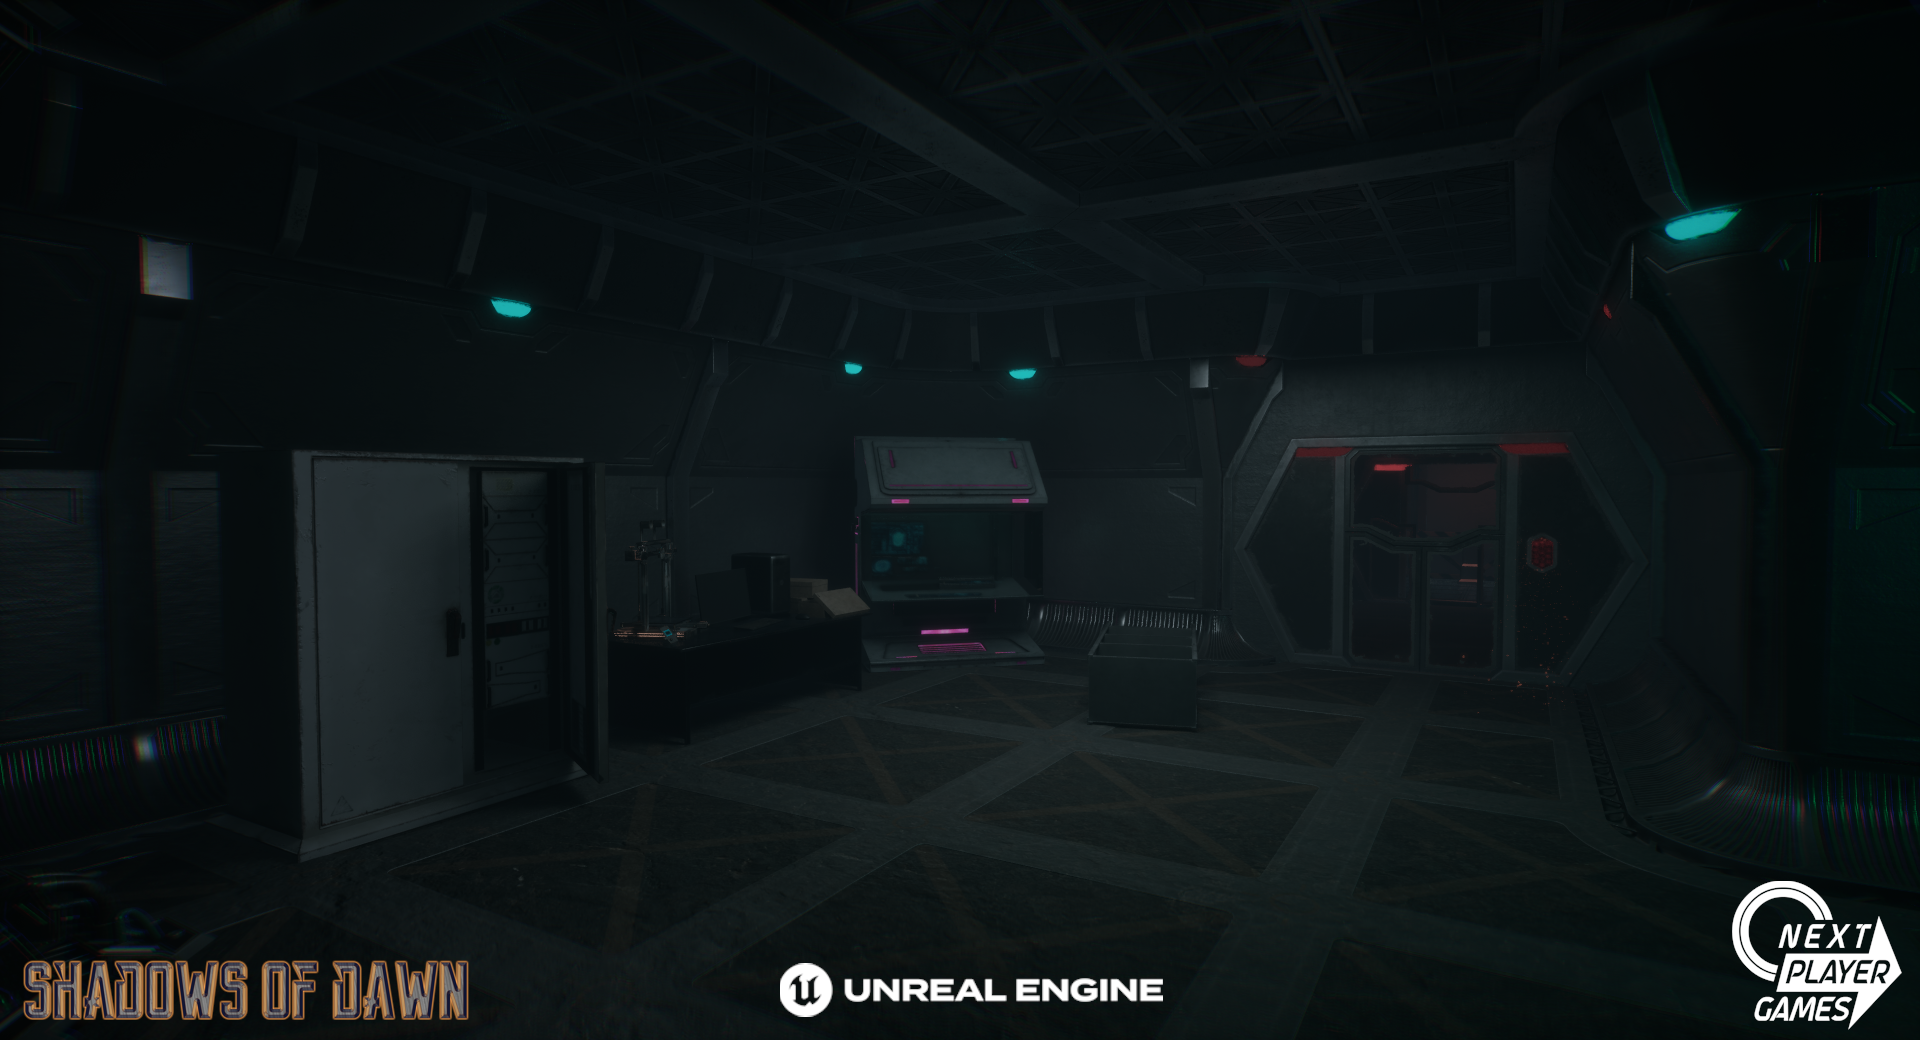
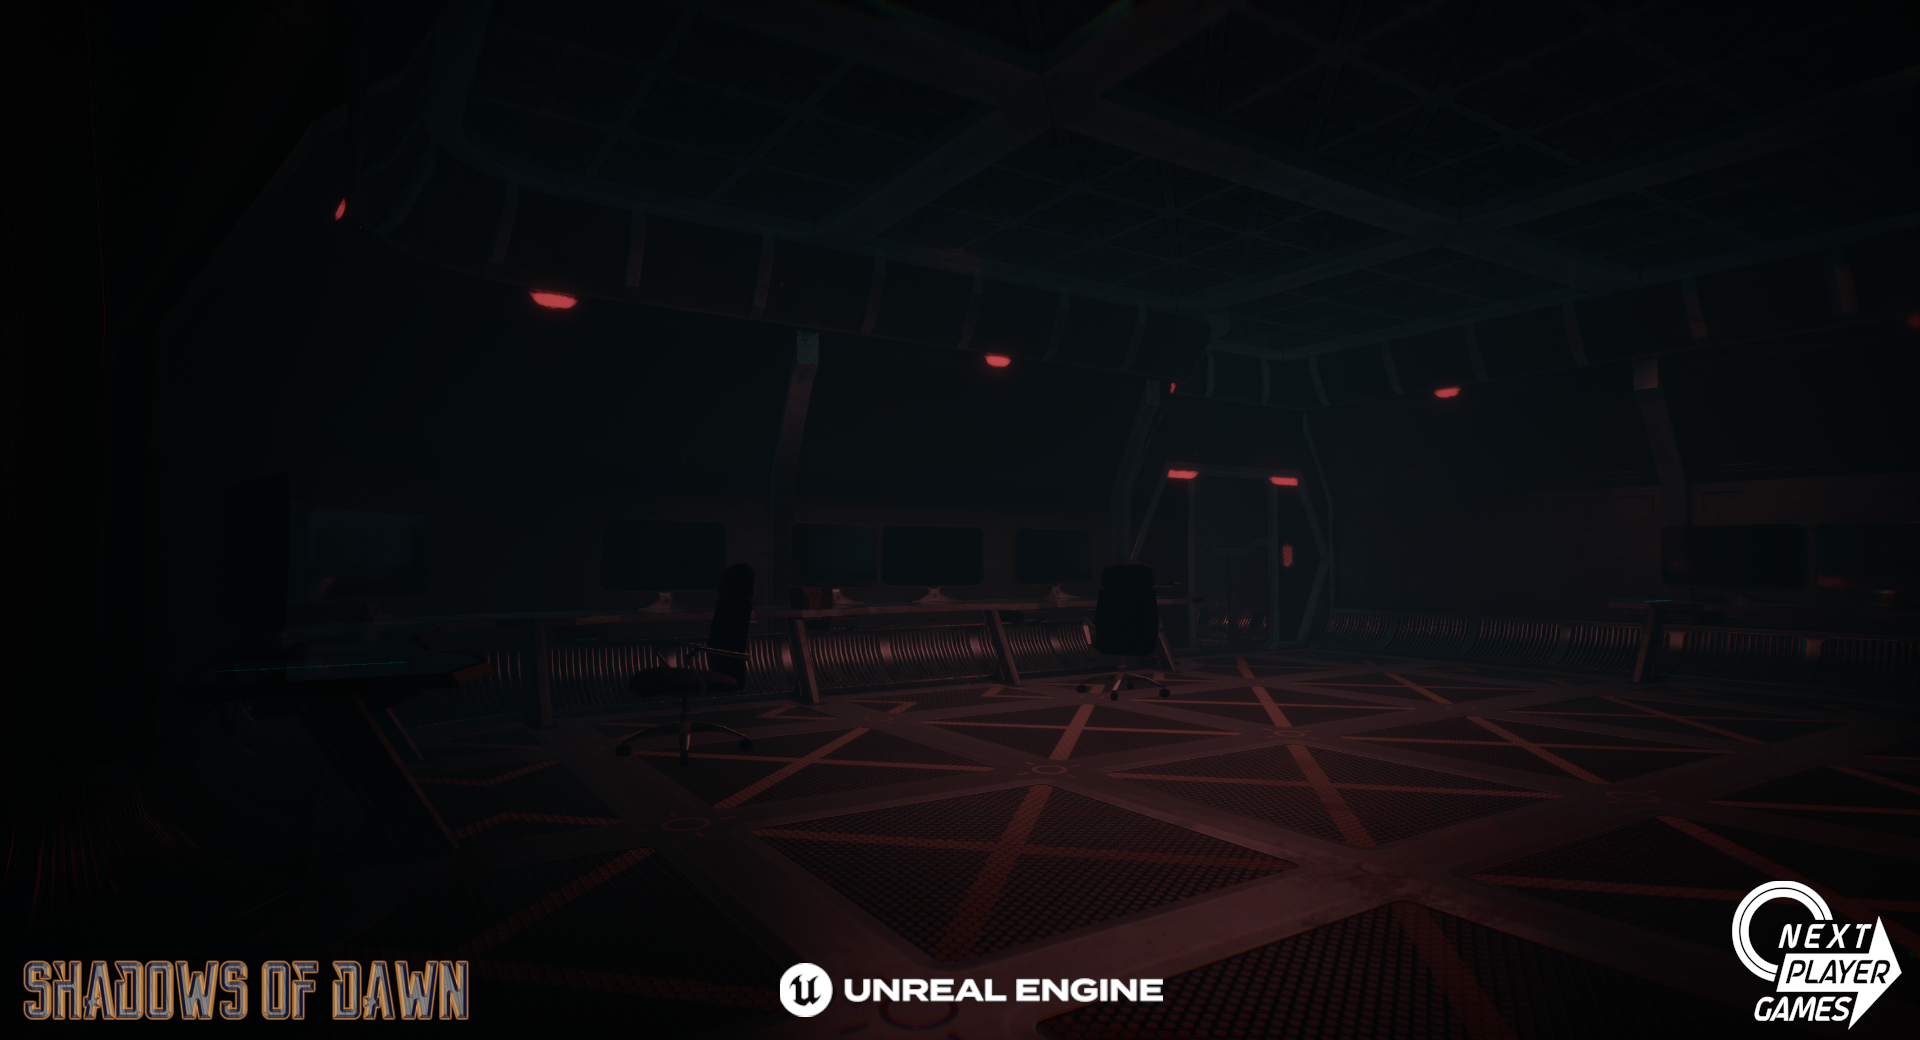
6.) After continuing along main path through door “A” player is interrupted by another beetle encounter as it feeds on a corpse and quickly flees through ventilation system again. Player will be able to regain control and continue along path through the “common area”. Additional exploration should be encouraged for player to find extra lootable materials. Path to continue progression is on far side of room with a branching path for player to choose.
7.) *Optional encounter* beetle can be seen feasting on corpse of former inhabitant and quickly flees at the sight of player.. corpse is lootable for items.
8.) Mandatory encounter with beetle again feasting on the corpse of a dead guard from the facility. The beetle will flee a final time upon the player being within range of it. The player should be prompted to again loot this guard to receive the pistol blueprint and some raw crafting materials. Then continue down the path.
9.) The players path is blocked by rubble and an explosive barrel. The player will now need to backtrack to the workshop to craft the pistol.
10.) Back in the workshop, the player will need to craft the pistol from the blueprint found on the dead guard, then return to the blocked path.
11.) With the pistol equipped, the player can now damage the explosive barrel to clear the rubble blocking their way forward.
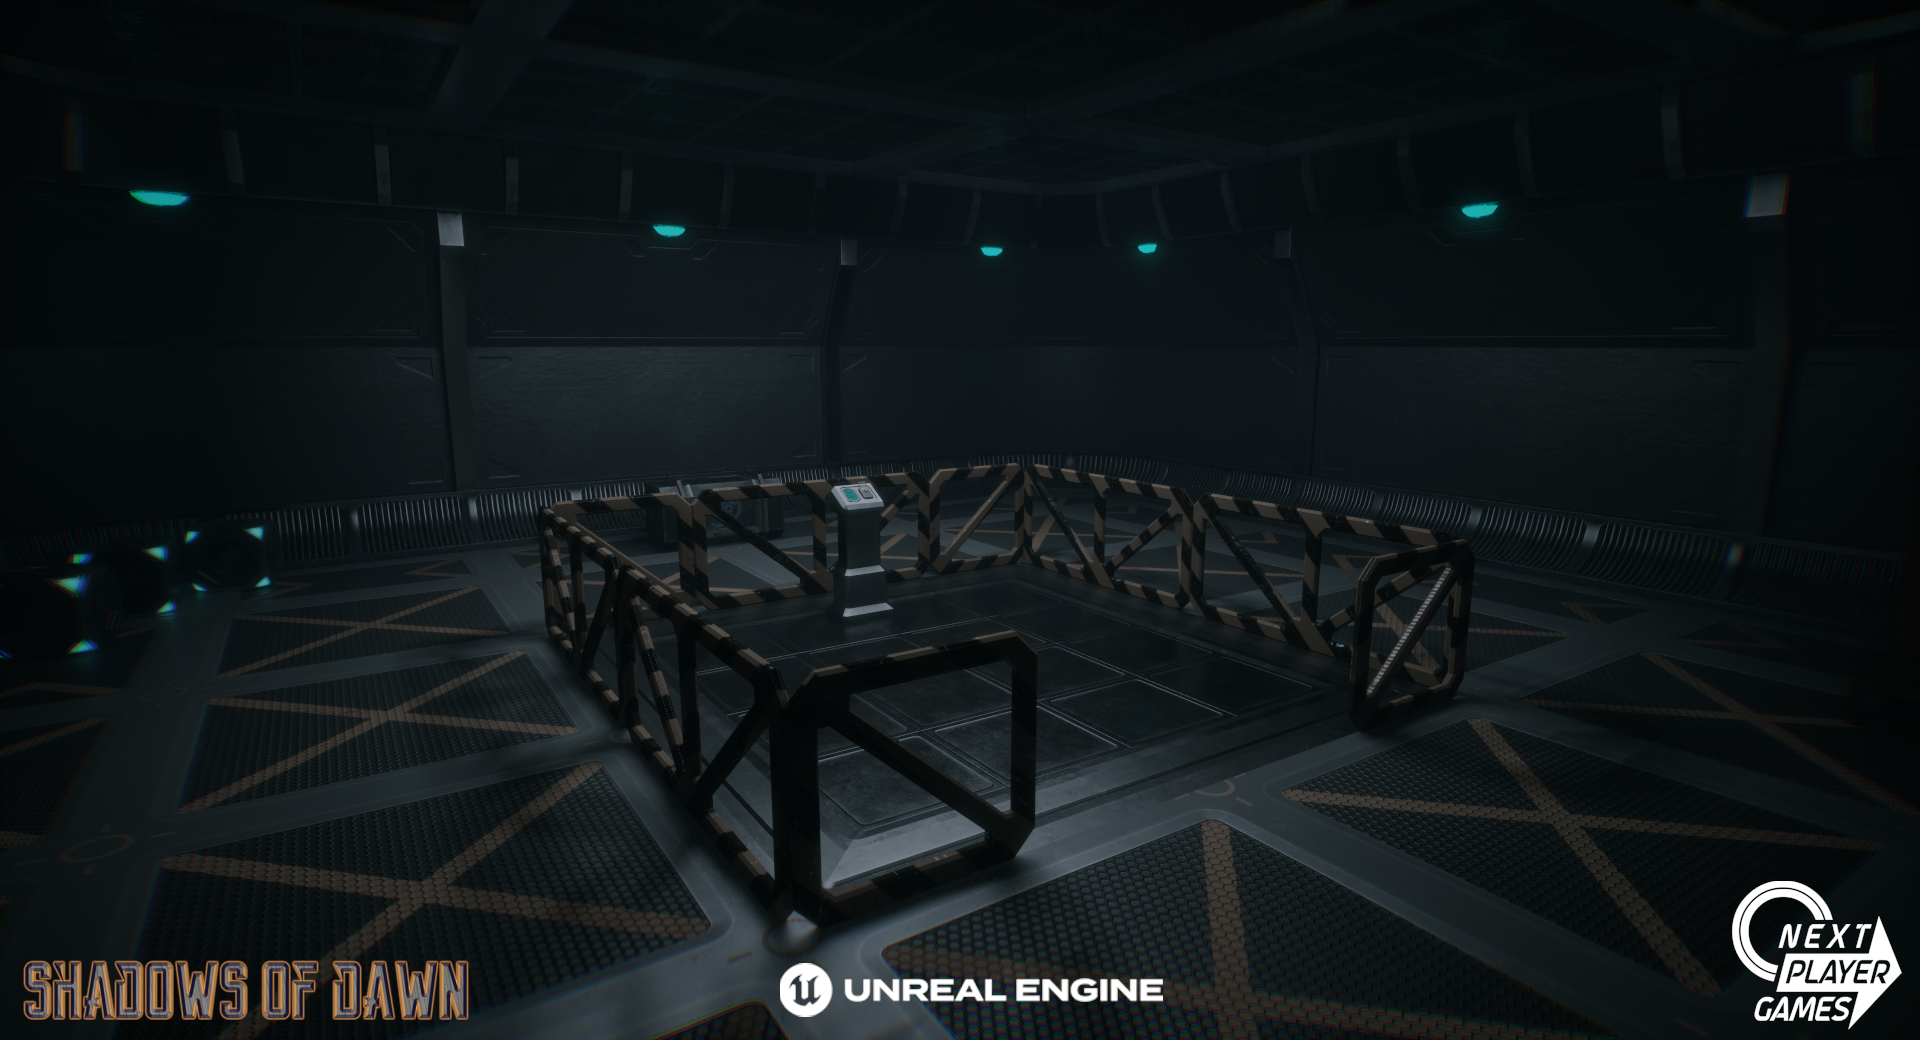
12.) Upon entering the “power room” a containment protocol will be triggered and the beetle will enter and attack the player to provoke the boss fight with it. The player must defeat the beetle to continue.
13.) At the control panel the player can restore power to the facility and disengage the lockdown that was triggered by the beetle. Then continue through door “C”.
14.) Here door “D” can be unlocked from this side allow easy access back into the earlier parts of the facility.
15.) Player can continue down the path to exit the cave/facility to see the outside and what has become of earth. A faction NPC will greet them surprised to see someone exit the cave/facility. They will also give them the codes allowing them to access the MP Bunker.
16.) With codes in hand, the bunker door can now be opened and allow the player to partake in MP to gather additional materials for crafting etc.
2.) Storage room to left is locked from inside, player is taught to crouch and prone to navigate partial cave in.
3.) Door to “security room?” locked from inside. Storage room door may be opened from inside if player chooses. Door marked “A” is in lockdown similar to “B” Player must continue to workshop.
4.) Crafting tutorial, player prompted to gather parts in workshop and are walked through in crafting shiv.
5.) Use shiv to access electrical panel prompting mini-game/puzzle. Puzzle reward is lockdown removal and opening of doors “A” and “B”
6.) After continuing along main path through door “A” player is interrupted by another beetle encounter as it feeds on a corpse and quickly flees through ventilation system again. Player will be able to regain control and continue along path through the “common area”. Additional exploration should be encouraged for player to find extra lootable materials. Path to continue progression is on far side of room with a branching path for player to choose.
7.) *Optional encounter* beetle can be seen feasting on corpse of former inhabitant and quickly flees at the sight of player.. corpse is lootable for items.
8.) Mandatory encounter with beetle again feasting on the corpse of a dead guard from the facility. The beetle will flee a final time upon the player being within range of it. The player should be prompted to again loot this guard to receive the pistol blueprint and some raw crafting materials. Then continue down the path.
9.) The players path is blocked by rubble and an explosive barrel. The player will now need to backtrack to the workshop to craft the pistol.
10.) Back in the workshop, the player will need to craft the pistol from the blueprint found on the dead guard, then return to the blocked path.
11.) With the pistol equipped, the player can now damage the explosive barrel to clear the rubble blocking their way forward.
12.) Upon entering the “power room” a containment protocol will be triggered and the beetle will enter and attack the player to provoke the boss fight with it. The player must defeat the beetle to continue.
13.) At the control panel the player can restore power to the facility and disengage the lockdown that was triggered by the beetle. Then continue through door “C”.
14.) Here door “D” can be unlocked from this side allow easy access back into the earlier parts of the facility.
15.) Player can continue down the path to exit the cave/facility to see the outside and what has become of earth. A faction NPC will greet them surprised to see someone exit the cave/facility. They will also give them the codes allowing them to access the MP Bunker.
16.) With codes in hand, the bunker door can now be opened and allow the player to partake in MP to gather additional materials for crafting etc.
END of Tutorial Sequence

Enemy & Encounter Design
I've been collaborating with our Senior Systems Designer, development team and Animator to design the boss fight at the end of our tutorial level in Shadows of dawn.
With our Senior Systems Designer, Ari, I've been comparing his player stats and abilities system to the overall design of the boss' stats and abilities to make sure that the fight is balanced and only utilizes concepts and stats that the player will be familiar with at the moment the enemy is encountered in the game. For this we plotted out armor levels, overall health points, component health points, attack damage levels, ranges, durations and cooldowns. For status effects we decided it was best to keep to a minimum because the player is still at the beginning of the game that this point and shouldn't be overwhelmed with statuses they haven't learned and can't prepare for yet. So we limited this first boss to a stun and poison effect because they're simple ideas that are common in games and they fit the theme of the fight.
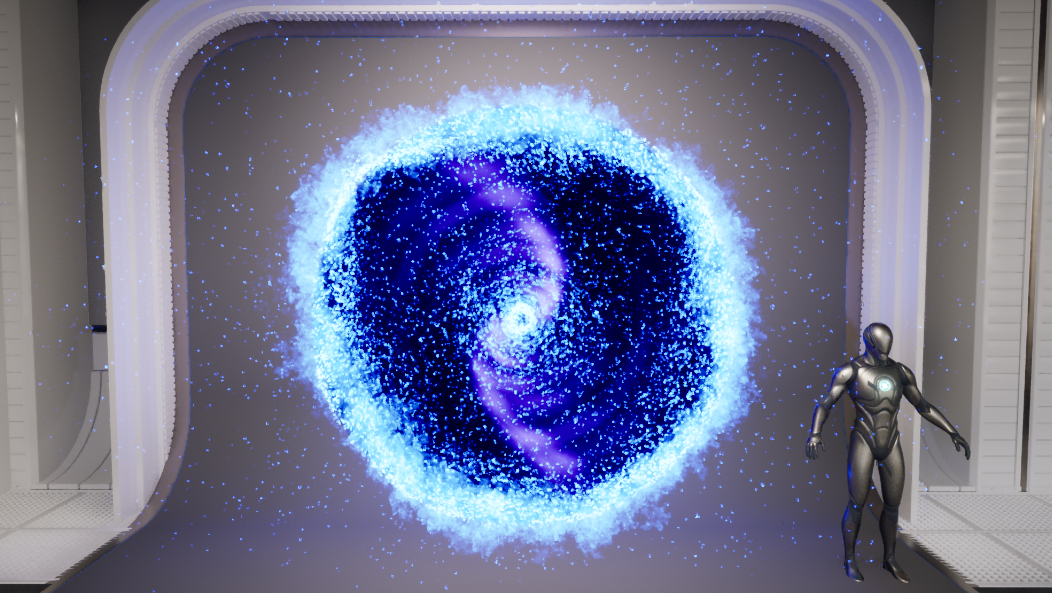
Sequence: The boss fight will commence once the player completes the hacking minigame to restore power to the generator.
Cutscene: Beetle crashes through the wall and uses Screech ability to transition back to player control and start encounter.
Cutscene: Beetle crashes through the wall and uses Screech ability to transition back to player control and start encounter.
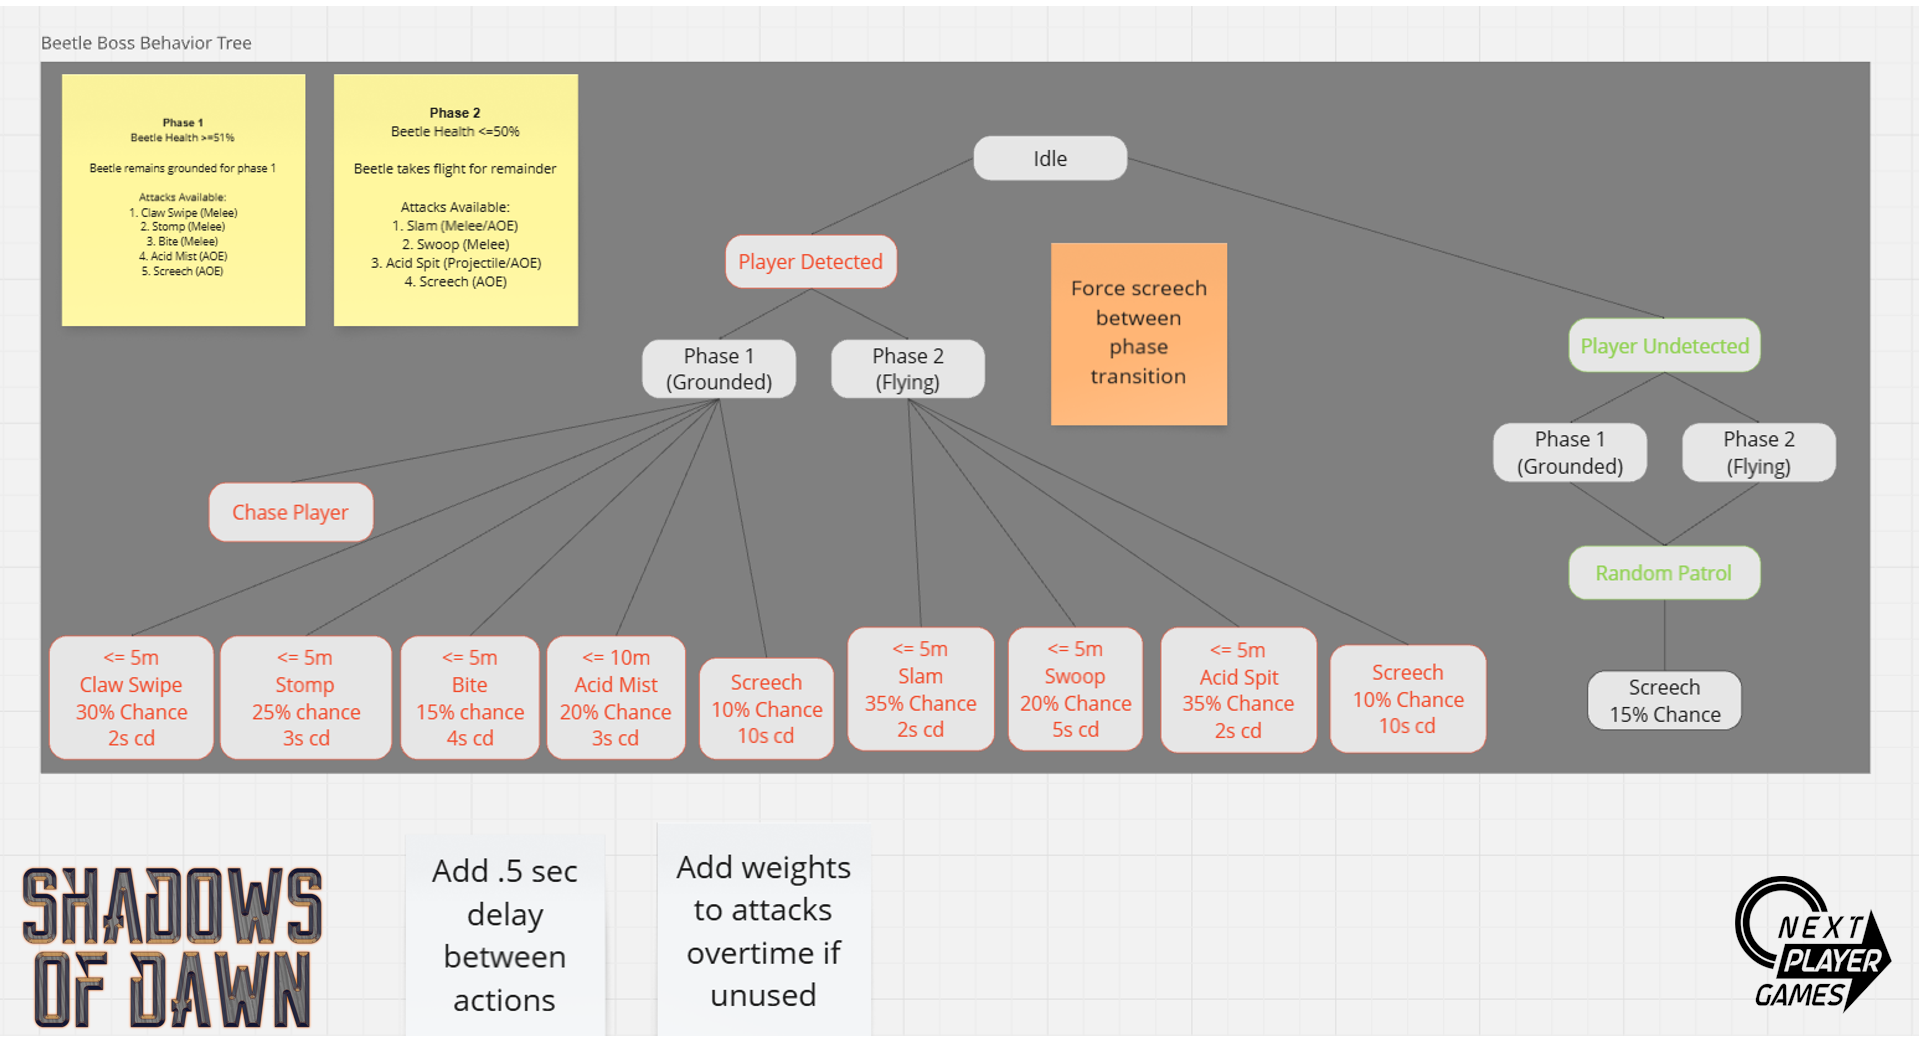
The Beetle has 2 phases that split the battle in half. Certain attacks are specific to the phase that the battle is currently in which is determined by the Beetle's current health percentage.
Phase 1: The Beetle travels by foot on the ground and will use a mixture of RNG and its current distance from the player to determine it's next available attack.
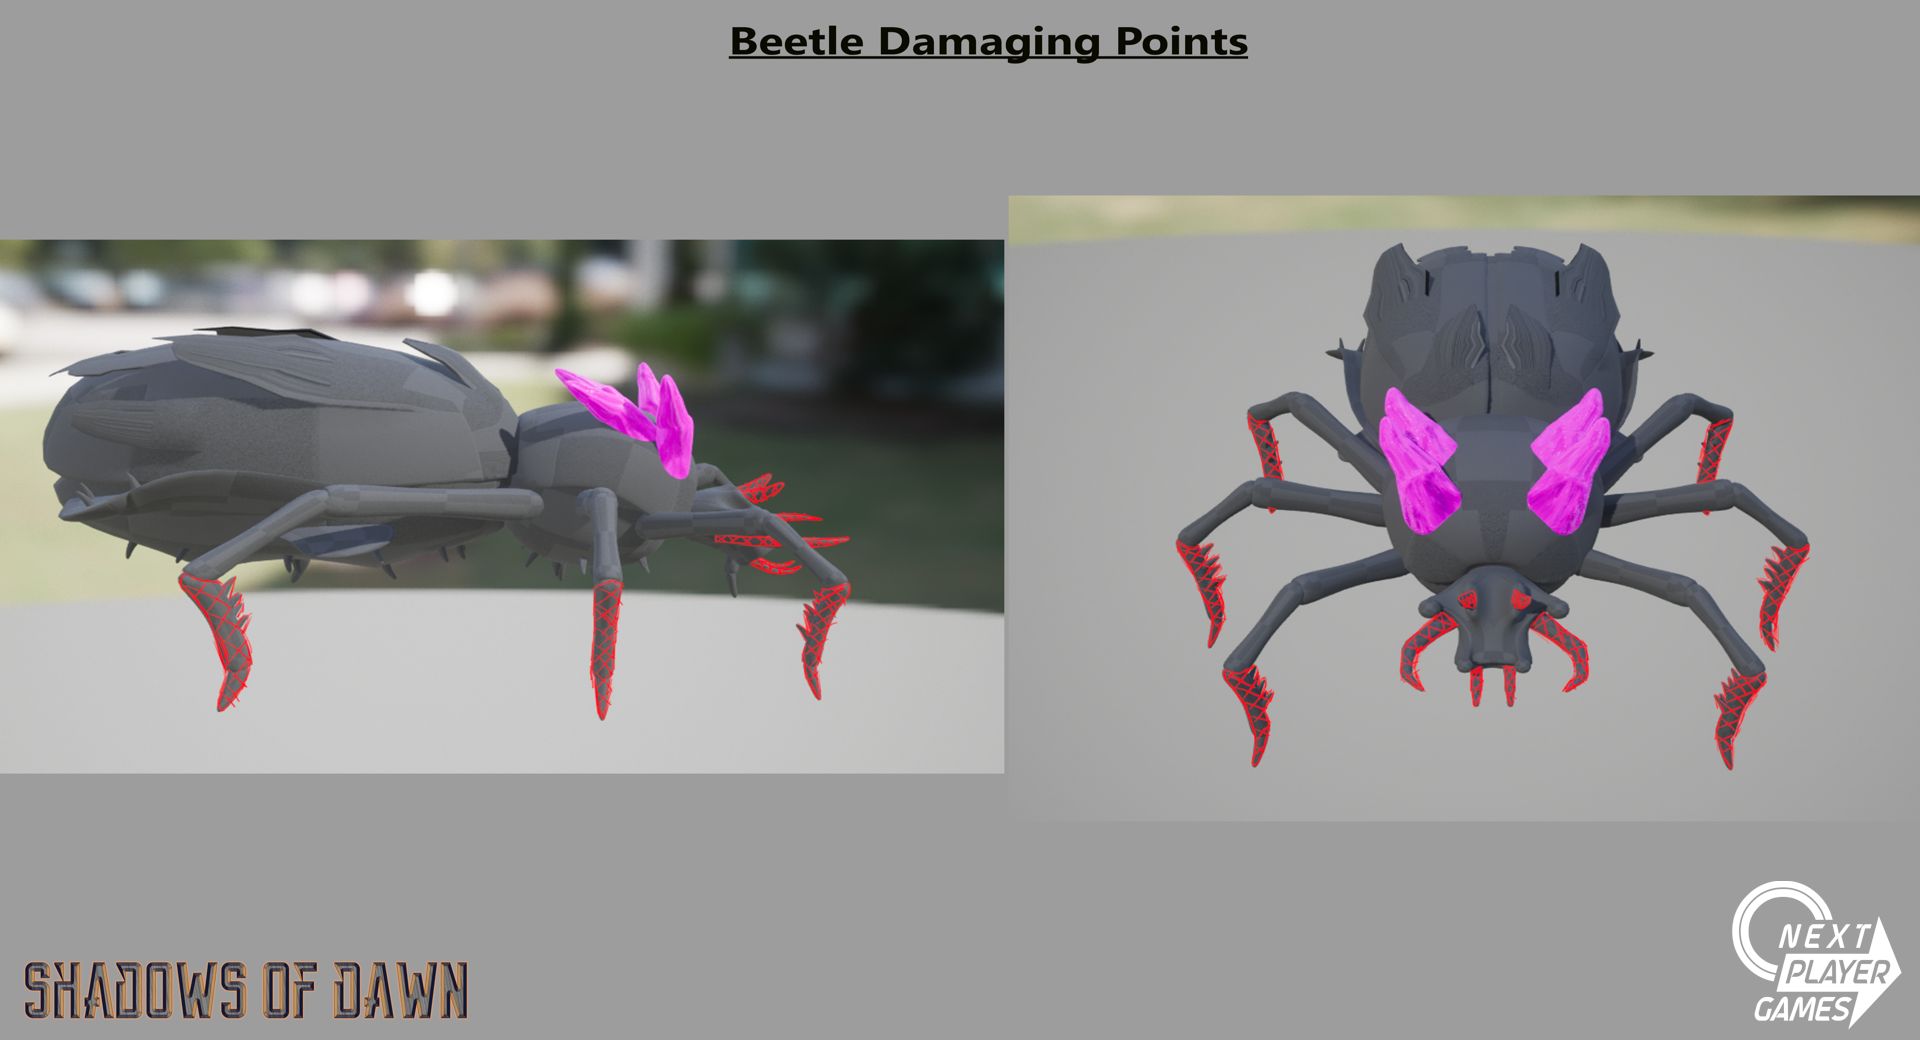
Bite - Uses its tusks to sweep forward and side to side to damage the player.
Claw - Uses front left leg to strike player by swinging laterally across the ground to damage the player.
Stomp - Uses front right leg to slam down into the ground and deal damage to the player directly or with a slight AOE.
Acid Spray - Spits an acid cloud toward the player to deal poison damage over time to the player.
Screech - May be used in both Phases 1 and 2. The Beetle stands up on it's hind legs letting out a shrill screech that does AOE damage and temporarily stuns the player while blurring their vision temporarily.
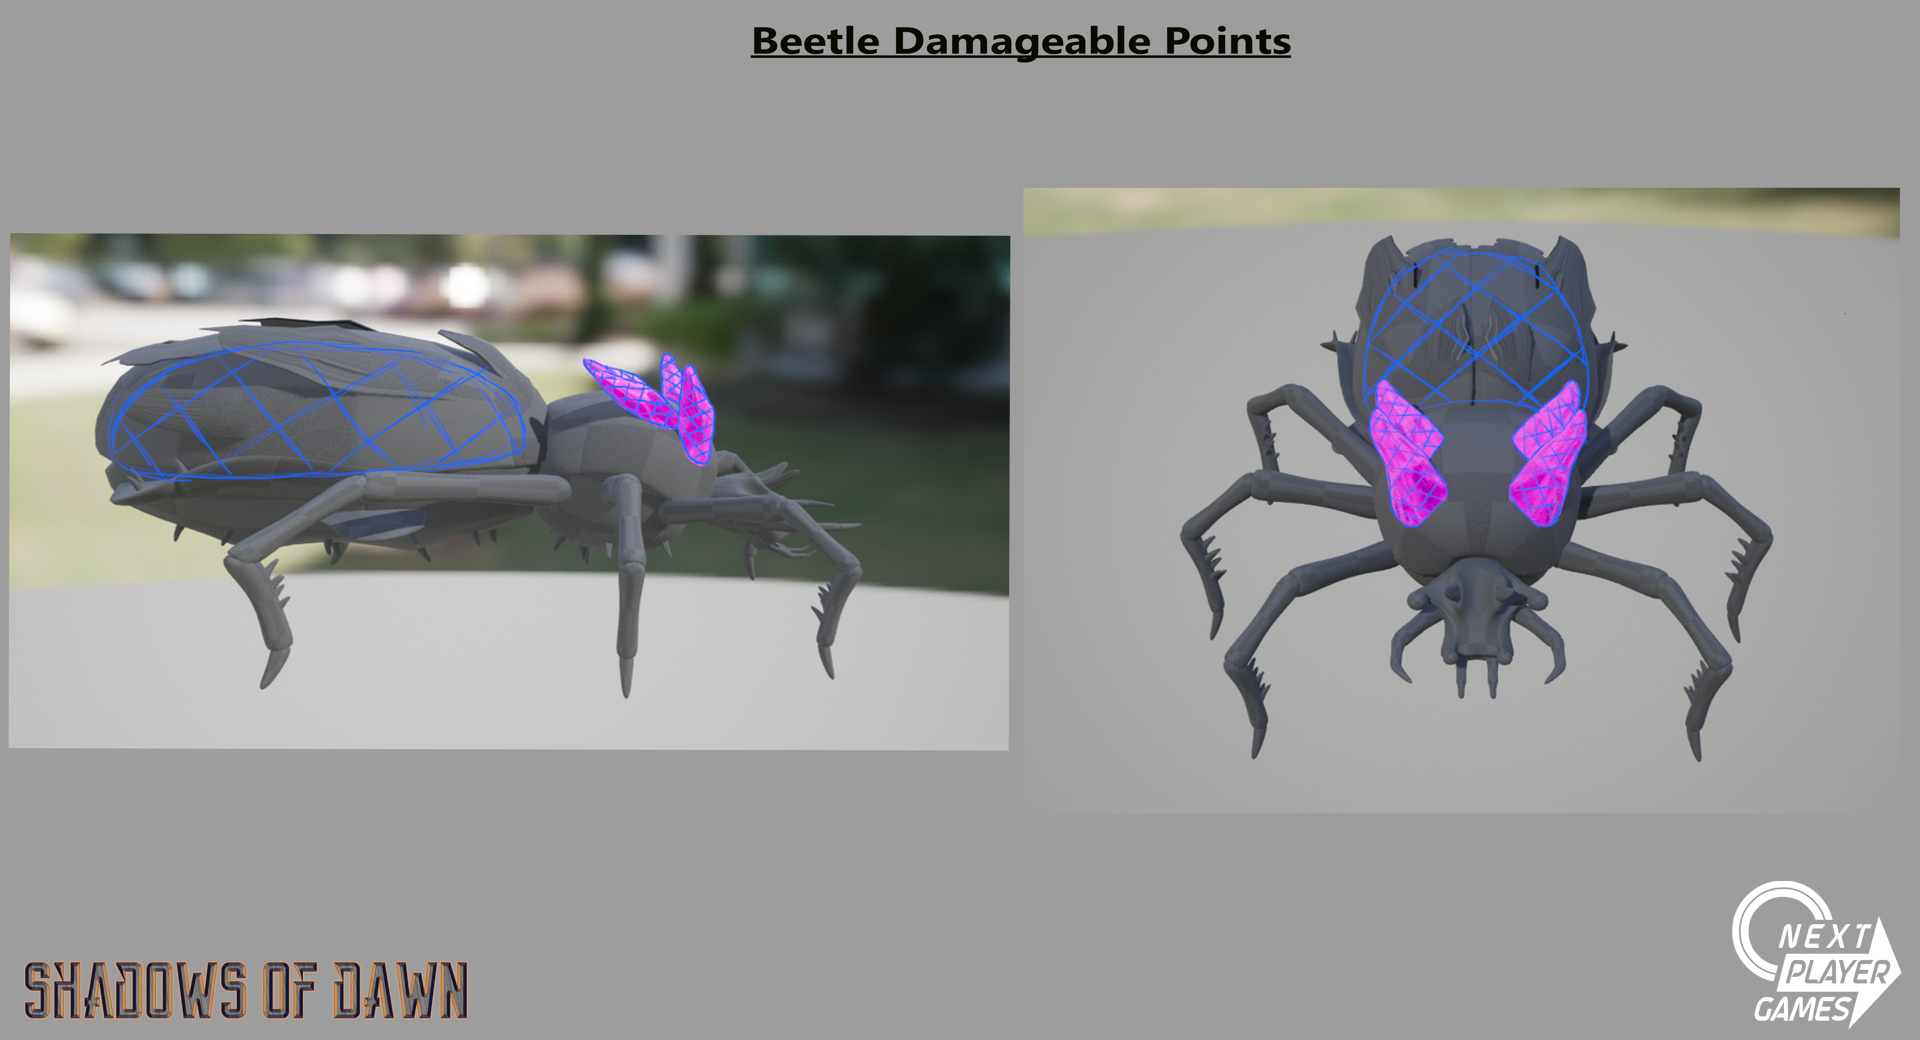
The player must damage the Beetle by destroying the crystals extending from its head, this will temporarily stun the Beetle and expose its weak point beneath its carapace. At 50% health (when all 4 crystals are destroyed), the Beetle will use Screech and take flight to initiate Phase 2.
Phase 2: While in the air the Beetle will use a similar system to determine its next available attack.
Phase 2: While in the air the Beetle will use a similar system to determine its next available attack.
Acid Spit - A projectile of acid is spit toward the player dealing direct damage as well as damage overtime. If the projectile misses it leaves a small AOE that will last for a time and deal damage to the player overtime as well.
Swoop - A flying attack where the Beetle attempts to ram the player by flying laterally across the area dealing direct damage to the player if hit.
Slam - A secondary version of the attack from Phase 1, in this instance the Beetle slams into the ground dealing AOE and stun damage to the player if in range.
While in Phase 2, the player should shoot the Beetles exposed weak point beneath its wings to deal damage and eliminate the Boss.
Once victorious, the player can now exit the facility and continue to make their way outside to the open-world.